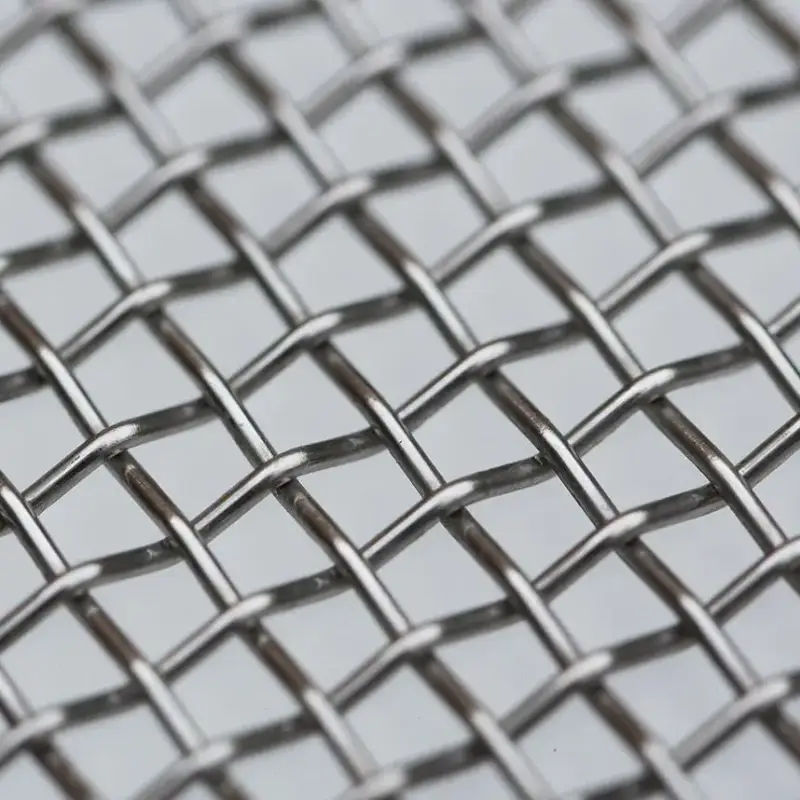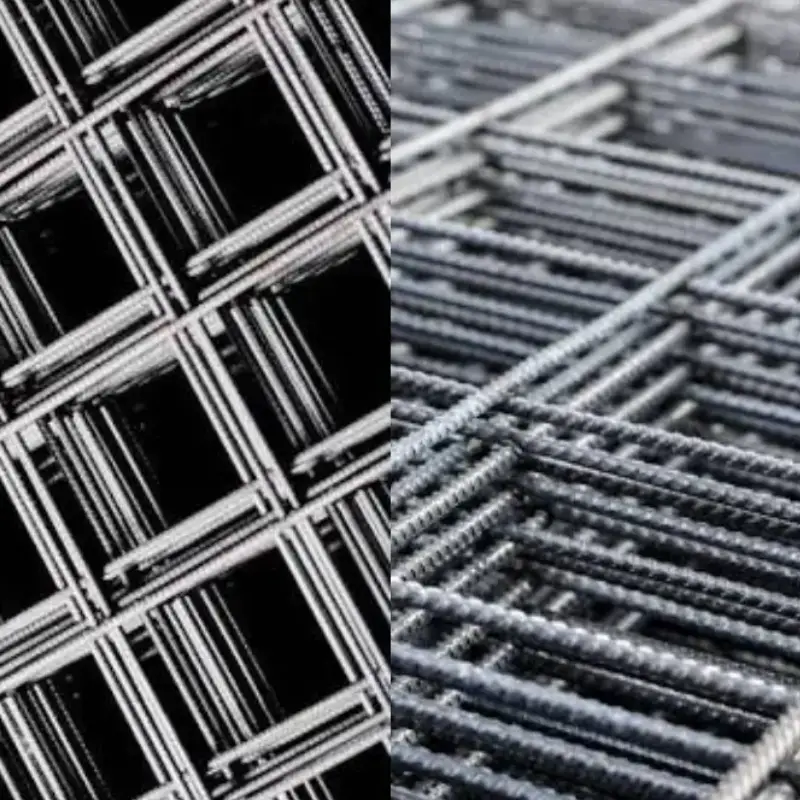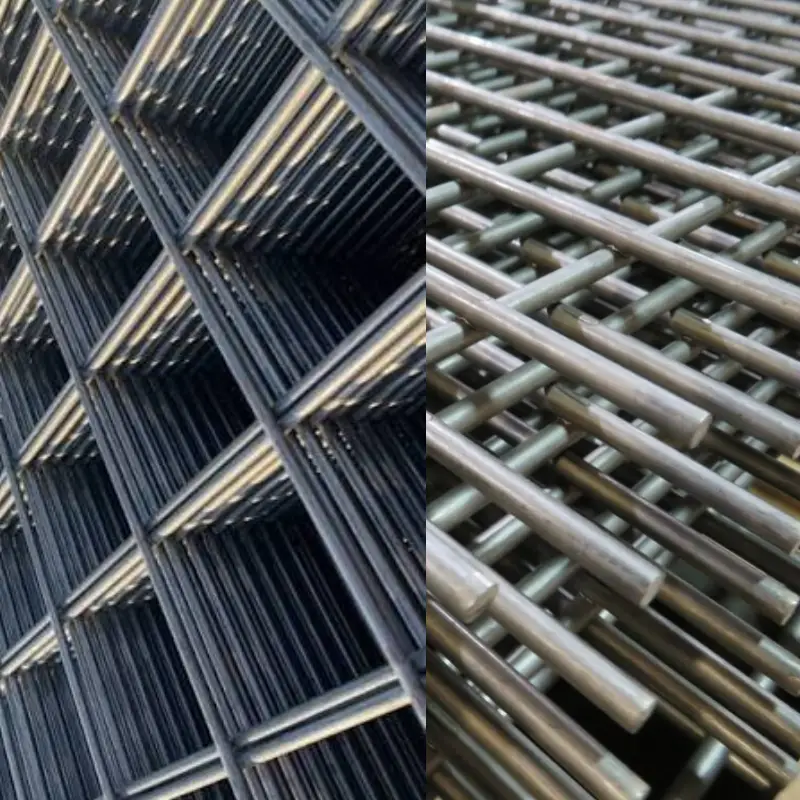
Measuring wire mesh accurately is essential for choosing material that performs correctly in construction, screening, filtration, fencing, and industrial applications. Key measurements include mesh count, opening size, wire diameter, panel width, and roll length. Knowing how these specifications work together helps buyers compare products, avoid sizing errors, and order materials suited to their project requirements.
This guide explains the practical steps for measuring wire mesh with confidence. You will learn how to count openings, determine aperture size, measure wire thickness, and record overall dimensions. Whether you need welded or woven mesh, accurate measurements make communication with suppliers easier and help ensure the material fits its intended application.
Why Wire Mesh Size Matters?
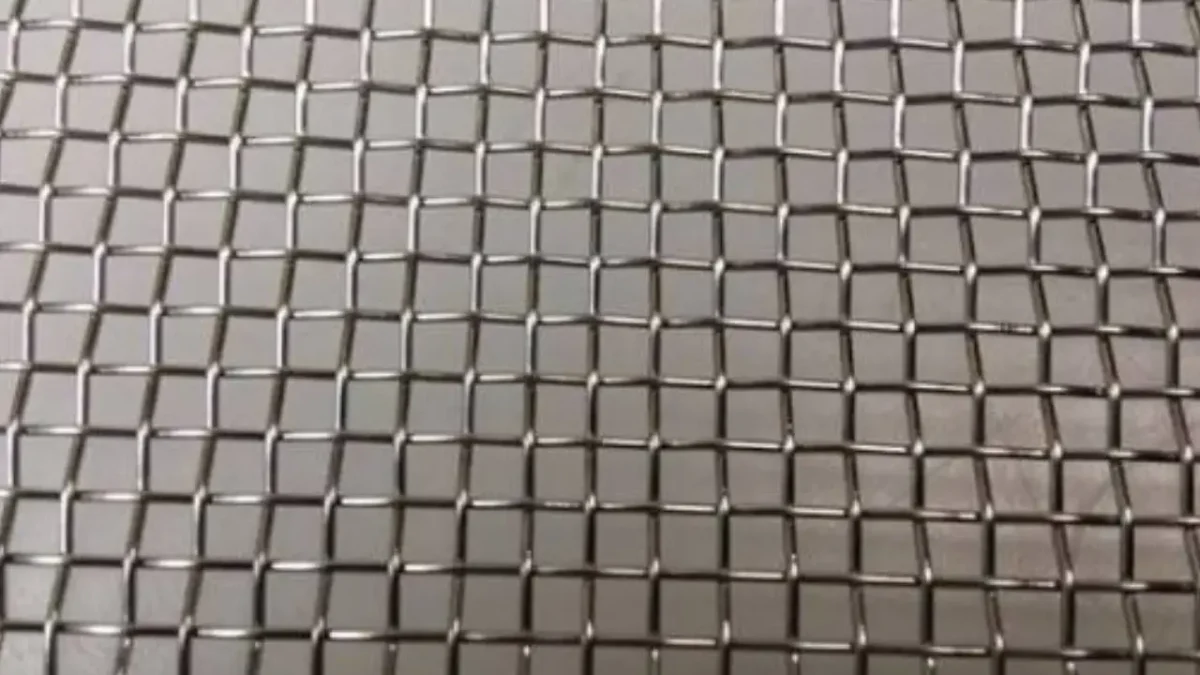
Wire mesh size matters because opening dimensions, wire diameter, and mesh count directly affect strength, airflow, visibility, filtration, and material coverage. Selecting the wrong size can reduce performance, increase costs, or create safety concerns.
Matching mesh specifications to the application helps ensure reliable results in construction, fencing, screening, filtration, and industrial projects.
- Strength and load capacity: Thicker wire and smaller openings generally create a stronger mesh structure. This matters for concrete reinforcement, security barriers, shelving, and heavy-duty enclosures where the material must resist bending, impact, weight, and repeated stress.
- Filtration accuracy: Mesh opening size determines which particles can pass through the screen. Fine mesh captures smaller materials, while larger openings allow greater flow. Choosing the right aperture is essential for filtration, sieving, screening aggregates, and separating materials consistently.
- Concrete reinforcement performance: In concrete applications, mesh size influences how reinforcement distributes tension and helps control cracking. The correct wire gauge and grid spacing should match slab thickness, expected loads, and engineering requirements to provide dependable support throughout the structure.
- Airflow and ventilation: Larger wire-mesh openings allow more air, light, and water to pass through. This makes them useful for guards, vents, cages, and outdoor enclosures. Smaller openings provide more coverage but can restrict airflow and reduce visibility.
- Security and containment: Smaller openings make it harder for objects, animals, or hands to pass through the mesh. They are often selected for safety barriers, machine guards, window protection, animal enclosures, and secure storage areas where reliable containment is required.
- Product fit and coverage: Overall mesh width, length, and panel dimensions affect whether the material fits the intended installation area. Accurate sizing reduces trimming, waste, and labor while helping installers achieve a cleaner finish for fences, screens, partitions, and concrete placements.
- Material cost: Fine mesh and heavier wire often use more metal, which can increase material costs. Selecting only the strength and opening size needed for the job helps control budgets without sacrificing essential performance, safety, or service life.
- Installation efficiency: Properly sized mesh is easier to cut, position, fasten, and overlap during installation. Using dimensions suited to the project reduces adjustments onsite, limits material waste, and helps crews complete work more efficiently with fewer alignment or fit issues.
How to Measure Wire Mesh?
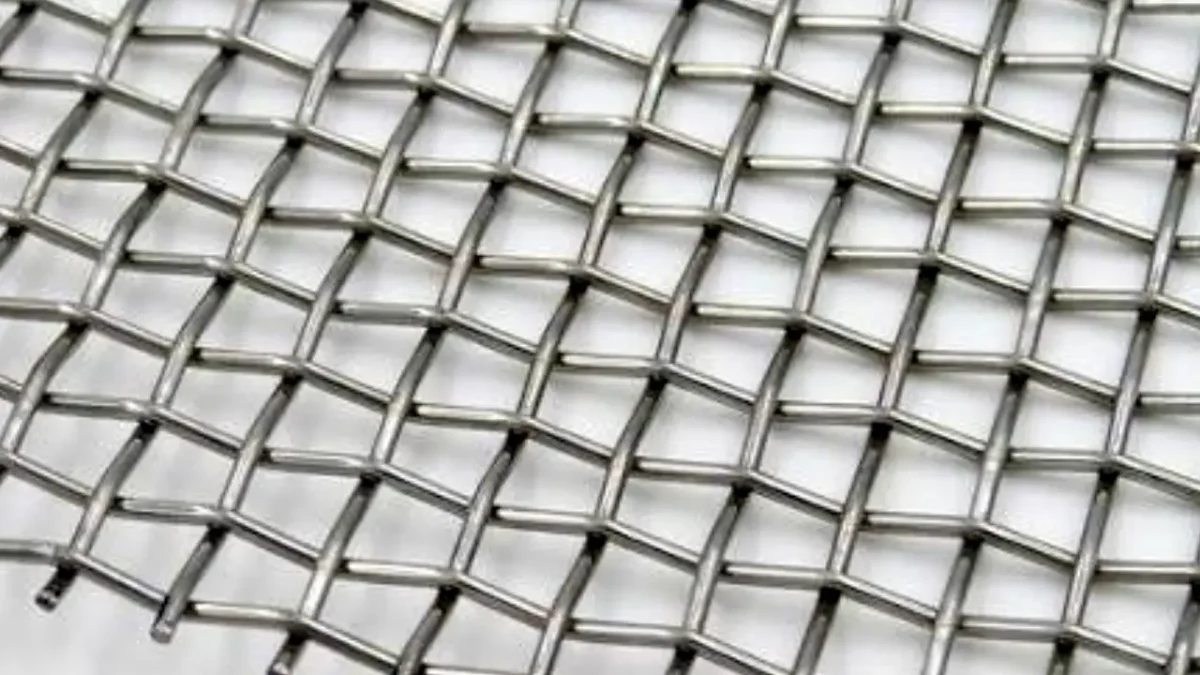
Accurate wire-mesh measurements help you identify the correct product for construction, screening, filtration, fencing, or fabrication. The main specifications are mesh count, opening size, wire diameter, width, and length.
Measure several areas whenever possible, because handling or manufacturing variations may affect consistency. Record every result with units to compare products and communicate requirements clearly.
Tools Needed
- Steel ruler or measuring tape
- Vernier caliper or micrometer
- Mesh-counting glass or magnifier
- Notebook or digital recording sheet
- Calculator
- Flat work surface
- Gloves and safety glasses
Step 1: Lay the Mesh Flat
Lay the wire mesh flat on a clean, stable work surface before taking any measurements. Remove bends, folds, or loose debris that could interfere with accurate readings. A flat position helps you see the wire pattern clearly and prevents the material from shifting while measuring openings, wire thickness, or overall dimensions.
Avoid stretching woven mesh while positioning it because tension can change the apparent opening size. Keep the sample relaxed and supported across its entire surface. If the material arrives rolled, allow it to settle naturally before measuring, then choose a section without visible damage, distortion, rust, or irregular edges.
Step 2: Measure the Overall Width
Measure the full width of the mesh from one outer edge to the opposite outer edge. Place the measuring tape perpendicular to the long direction of the roll or panel. Record the measurement in inches or millimeters, using the same unit consistently throughout your specification sheet.
For wide rolls or panels, take the width reading at several locations. This confirms whether the material remains uniform from end to end. Note any edge treatment, such as raw cut edges or selvedges, because these details can influence usable width and may matter when ordering replacement mesh.
Step 3: Measure the Overall Length
Measure the complete length of the mesh roll, sheet, or cut panel along its longest direction. Keep the tape straight and aligned with the wire pattern to avoid an inaccurate diagonal reading. Record the dimension separately from the width so suppliers understand the required coverage area.
For mesh supplied in rolls, use the manufacturer’s stated length when the roll cannot be fully uncoiled safely. Verify a sample section where possible and document the roll label information. Length affects material yield, shipping, cutting plans, and the number of sections required for the intended installation.
Step 4: Count Openings Horizontally
Count the complete openings within one linear inch along a horizontal row of mesh. Begin from the center of one wire and move to the center of the wire located one inch away. The number of openings in that span is the horizontal mesh count.
Use a ruler for coarse mesh and a magnifying counting glass for finer mesh. Count only full openings, and repeat the measurement in several undamaged locations. Recording multiple readings helps identify irregular spacing, which can matter when mesh is used for screening, filtration, precision separation, or quality-control applications.
Step 5: Count Openings Vertically
Count the complete openings within one linear inch along a vertical row at a right angle to the first measurement. This establishes the vertical mesh count. Square mesh normally has matching horizontal and vertical counts, while rectangular or specialty mesh may have different measurements in each direction.
Write the result in a clear format, such as 10 by 10 mesh, when both directions contain ten openings per inch. If the counts differ, record each value separately rather than averaging them. This distinction is essential for ordering woven or welded mesh that has rectangular openings.
Step 6: Measure Wire Diameter
Measure one wire’s thickness with a calibrated micrometer or vernier caliper. Position the measuring jaws gently around a clean, undamaged section of wire, then record the diameter in millimeters or inches. A micrometer provides better precision for fine wire, while calipers may suit larger diameters.
Measure several wires across the sample to check consistency. Take readings in both warp and weft directions for woven mesh, because wire diameters may differ. Do not measure over coatings, damaged spots, or wire intersections, as these locations can produce misleading values that do not represent the actual wire diameter.
Step 7: Measure the Opening
Measure the clear opening between the inner edges of two adjacent parallel wires. This opening, also called aperture, determines what can pass through the mesh. Use a ruler for larger openings, or use magnification and calibrated equipment when measuring fine screens that require greater precision.
Take multiple aperture readings across the material because a single opening may not represent the entire sample. For accurate results, record measurements in both directions where the mesh has rectangular openings. Opening size is especially important in filtration, sieving, insect screening, ventilation, and particle-separation applications.
Step 8: Calculate the Pitch
Calculate the pitch by adding the measured wire diameter to the clear opening size. Pitch represents the center-to-center distance between adjacent wires and helps verify mesh spacing. For consistent mesh, the pitch should align with the measured opening count across a one-inch or millimeter reference distance.
Use the formula
For metric measurements, divide 25.4 millimeters by the mesh count to estimate pitch per inch. Compare the calculated figure with direct measurements to identify potential irregularities, damaged mesh, or an incorrect initial count.
Step 9: Calculate the Opening Size
Calculate the theoretical opening size when direct measurement is difficult. Divide 25.4 millimeters by the mesh count, then subtract the measured wire diameter. This calculation is particularly useful for fine mesh, where individual openings may be too small to measure reliably using a standard ruler.
Use the formula
Keep all values in millimeters during the calculation to avoid conversion mistakes. Compare the calculated opening with direct observations, then note the method used in your final measurement record.
Step 10: Record the Material Type
Record the mesh material after completing dimensional measurements. Common options include stainless steel, galvanized steel, plain steel, aluminum, brass, copper, and coated steel. Material choice affects corrosion resistance, weight, strength, appearance, conductivity, and suitability for indoor, outdoor, food-processing, or chemical-exposure environments.
Check product labels, mill certificates, or supplier documentation rather than identifying metal solely by appearance. Similar-looking mesh products can perform very differently in service. Include the finish or coating in your notes, such as galvanized, PVC-coated, or bare metal, because it can alter final dimensions and environmental durability.
Step 11: Compare the Specification
Compare your recorded measurements with the product specification or project requirements. Confirm mesh count, opening size, wire diameter, width, length, material, and finish before purchasing or installing the mesh. This final comparison helps prevent incorrect orders and ensures the selected material meets the intended performance needs.
If measurements fall outside the stated tolerance, recheck using calibrated tools and an undamaged sample area. Contact the supplier for clarification when discrepancies remain. Providing complete measurements, rather than only a mesh count, gives suppliers enough information to identify the correct wire mesh and recommend a suitable alternative.
Wire Mesh Size Chart
A wire mesh size chart helps buyers compare mesh count, opening size, wire diameter, and open area before choosing a product. Mesh count means openings per linear inch, but it does not fully define a mesh specification.
Wire thickness changes the clear opening and strength, so always review every listed measurement when selecting wire cloth.
- Mesh count: Mesh count shows how many openings appear in one linear inch. A higher count generally means smaller openings, making it useful for fine filtration, sieving, and particle separation.
- Opening size: Opening size, or aperture, is the clear space between adjacent wires. It determines the largest particle that can pass through and is commonly measured in millimeters or microns.
- Wire diameter: Wire diameter measures the thickness of each wire. Thicker wires increase mesh strength and weight, but reduce open area and may reduce the clear opening at identical mesh counts.
- Open area: Open area is the percentage of the mesh surface that remains unobstructed. Greater open area improves airflow and throughput, while lower open area can provide finer screening or additional support.
- Micron conversion: One micron equals one-thousandth of a millimeter. Micron measurements are especially helpful for specifying fine mesh used in filtration, laboratory screening, powder processing, and precision industrial applications.
- Material selection: Stainless steel, galvanized steel, aluminum, brass, and plain steel offer different corrosion resistance, strength, weight, and cost. Choose material based on exposure conditions, application requirements, and expected service life.
Here is the wire mesh size chart as follows:
| Mesh count | Approx. opening | Approx. opening | Typical wire diameter | Open area | Common use |
|---|---|---|---|---|---|
| 4 mesh | 4.75 mm | 4,750 microns | 1.40 mm | 58.3% | Coarse aggregate screening |
| 6 mesh | 3.35 mm | 3,350 microns | 0.90 mm | 61.8% | Sand and gravel grading |
| 8 mesh | 2.36 mm | 2,360 microns | 0.80 mm | 57.4% | Coarse material screening |
| 10 mesh | 1.70 mm | 1,700 microns | 0.83 mm | 46.7% | General screening |
| 16 mesh | 1.00 mm | 1,000 microns | 0.60 mm | 45.6% | Fine screening |
| 20 mesh | 0.85 mm | 850 microns | 0.43 mm | 51.6% | Industrial filtration |
| 30 mesh | 0.60 mm | 600 microns | 0.29 mm | 54.5% | Liquid filtration |
| 50 mesh | 0.30 mm | 300 microns | 0.23 mm | 43.1% | Fine powder filtration |
| 100 mesh | 0.15 mm | 150 microns | 0.11 mm | 44.9% | Fine filtration |
| 200 mesh | 0.075 mm | 75 microns | 0.053 mm | 44.6% | Ultra-fine classification |
| 325 mesh | 0.045 mm | 45 microns | 0.036 mm | 41.3% | Powder analysis |
How to Choose the Right Wire Mesh Sizes?
Choosing the right wire mesh size means matching the opening size, wire diameter, material, and panel dimensions to your project. The correct specification balances strength, airflow, visibility, containment, filtration, and cost.
Start with what the mesh must hold, block, screen, or reinforce, then compare complete product specifications rather than relying on mesh count alone.
- Define the application: Identify whether the mesh will be used for fencing, filtration, concrete reinforcement, guarding, animal containment, ventilation, or screening. Each purpose requires different openings, strength levels, materials, and construction methods for reliable long-term performance.
- Choose the opening size: Select an aperture based on the smallest object, particle, pest, or material that must be retained or excluded. Smaller openings improve containment and filtration, while larger openings provide better airflow, visibility, and drainage.
- Check mesh count: For woven wire cloth, mesh count indicates the number of openings per linear inch. Higher mesh counts generally produce smaller openings, making them suitable for fine screening, sieving, laboratory work, and filtration tasks.
- Select wire diameter: Choose a wire thickness that can withstand expected impact, weight, abrasion, and handling conditions. Thicker wire increases strength and durability, but it reduces open area, adds weight, and may limit airflow or throughput.
- Consider open area: Review the percentage of unobstructed space in the mesh. Higher open area supports better airflow, drainage, visibility, and material flow, while lower open area can provide more surface coverage and finer separation performance.
- Match the material: Select galvanized steel, stainless steel, aluminum, brass, or coated mesh according to exposure conditions. Moisture, chemicals, food-contact requirements, temperature, and outdoor use can all affect which material offers the best service life.
- Choose welded or woven mesh: Welded mesh provides a rigid, stable grid for fencing, cages, panels, and reinforcement. Woven mesh offers flexibility and precise apertures, making it better suited for filtration, screening, and specialized industrial uses.
- Measure the installation area: Confirm the required roll width, panel dimensions, and total coverage before ordering. Accurate measurements reduce cutting, waste, seams, and installation time. Include allowance for overlaps, fastening points, and reasonable onsite trimming.
- Review environmental exposure: Consider corrosion, UV exposure, moisture, temperature changes, and abrasion before finalizing mesh specifications. A suitable coating or corrosion-resistant metal can prevent early failure and lower replacement costs in demanding environments.
- Confirm project requirements: Check engineering drawings, safety standards, customer specifications, or local codes when the mesh supports structural, security, or regulated applications. For concrete or load-bearing projects, follow the specified reinforcement design rather than making substitutions independently.
Conclusion
Correct wire-mesh measurement begins with understanding the difference between mesh count, opening size, and wire diameter. Measure multiple sections of the material when possible, especially if the mesh has been cut, bent, or used. Recording dimensions carefully allows you to compare specifications accurately and select a product that supports the required strength, coverage, or screening performance.
Always consider the complete specification rather than relying on one measurement alone. A mesh with the same opening size may have a different wire thickness, material type, finish, or overall panel dimension. These details affect durability, weight, corrosion resistance, and suitability for each application, from concrete reinforcement and fencing to filtration and protective barriers.
For dependable materials and competitive bulk pricing, get wholesale wire mesh from Apscreens. We supply wire mesh in a variety of gauges, opening sizes, materials, and formats to meet diverse project needs. Contact Apscreens to discuss your specifications, request support with sizing, and find a wholesale solution tailored to your application.