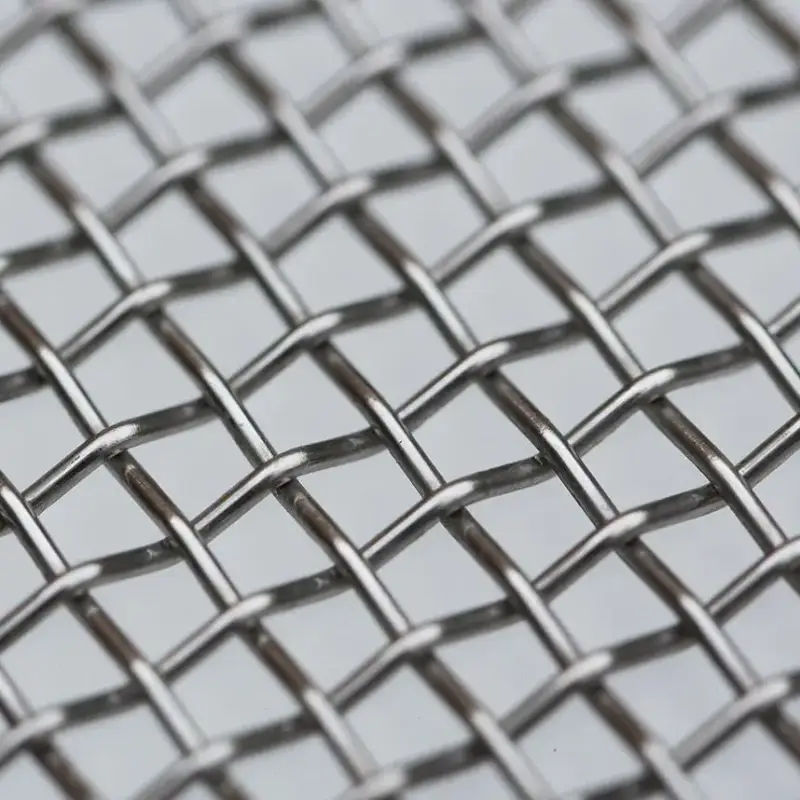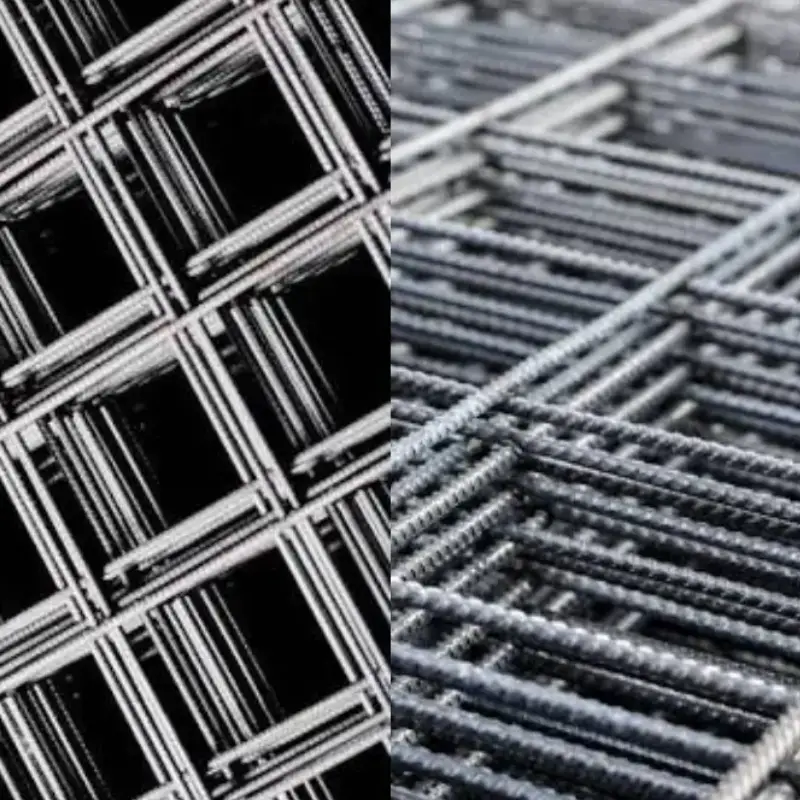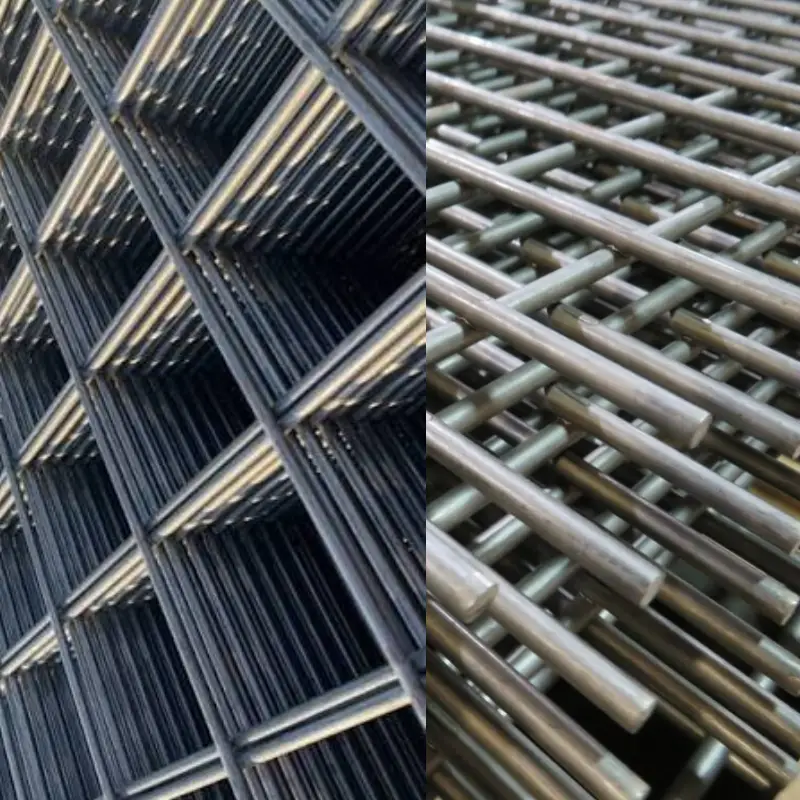
Wire mesh gauge is an important specification that affects wire diameter, strength, weight, and overall performance. Understanding gauge numbers can help you select suitable wire mesh for different applications. In this guide, we will explain wire mesh gauge, how it relates to wire diameter, and how to choose the right option.
Different projects require different levels of strength, flexibility, and durability. A thinner wire may work well for lightweight applications, while thicker wire can provide greater strength and stability. By understanding common wire mesh gauges and their applications, you can compare products more easily and select mesh that matches your project requirements.
What is Wire Mesh Gauge?
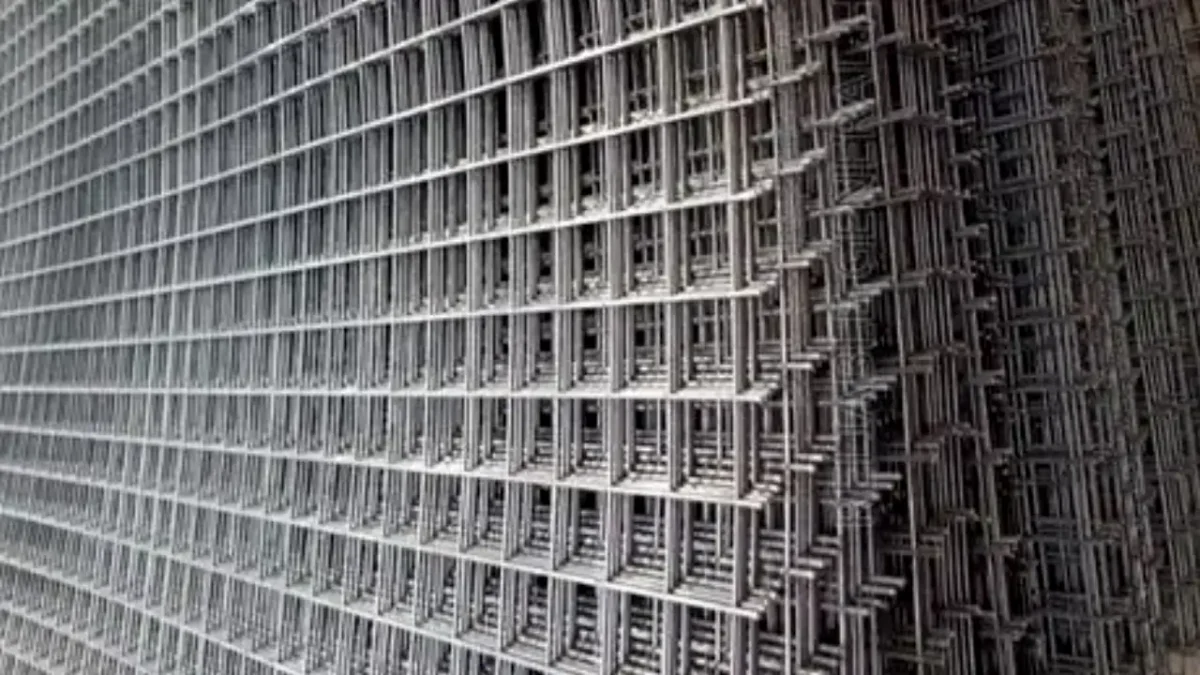
Wire mesh gauge refers to the thickness of the wire used to make a wire mesh product. It is commonly expressed as a gauge number, which helps buyers compare wire thicknesses. In general, a lower gauge number indicates a thicker wire, while a higher gauge number indicates a thinner wire.
Wire mesh gauge can affect the mesh’s strength, weight, flexibility, and durability. However, gauge is only one specification to consider when selecting wire mesh. We also recommend checking the wire diameter in millimeters or inches, mesh opening, material, surface treatment, and intended application to ensure the mesh meets your requirements.
Why Does Wire Mesh Gauge Matter?
Wire mesh gauge matters because wire thickness directly affects the mesh’s strength, weight, flexibility, and durability. Choosing an unsuitable gauge can affect installation and overall performance.
By understanding gauge and wire diameter, you can select a mesh that provides the right balance of strength, material usage, and cost.
- Strength: Wire gauge affects how much load and mechanical stress the mesh can withstand. We use thicker wires when higher strength and rigidity are required. For demanding applications such as security fencing, heavy-duty barriers, and industrial protection, selecting an appropriate gauge can improve overall structural performance.
- Durability: A suitable wire gauge can contribute to the long-term durability of wire mesh. We select thicker or stronger wires for applications exposed to frequent impact, tension, or heavy use. Combined with suitable surface treatment, the right gauge can help the mesh maintain reliable performance over time.
- Flexibility: Wire thickness also affects how easily the mesh can be bent, shaped, and installed. We can recommend thinner gauges when greater flexibility is needed for specific applications. Thicker gauges provide more rigidity, while thinner wires can make handling and installation easier.
- Weight: Wire gauge influences the overall weight of a mesh product. We use thinner wires when lightweight construction is preferred, while thicker wires add strength and weight. Considering the mesh weight can help you plan transportation, handling, supporting structures, and installation more efficiently.
- Application Suitability: Different applications require different wire thicknesses and performance levels. We can help select a suitable gauge based on whether the mesh is used for fencing, agriculture, construction, landscaping, or industrial purposes. Matching the gauge to the application helps ensure reliable and practical performance.
- Material Cost: Wire thickness affects how much metal is used to manufacture the mesh, which can influence the overall material cost. We help customers balance gauge, strength, durability, and budget to find a suitable wire mesh specification without using more material than the application requires.
How to Measure Wire mesh Guage?
Wire mesh gauge refers to wire diameter, not merely the number of openings. Measure several clean, undamaged wires with a micrometer, record the average diameter, then match that measurement to the gauge system or manufacturer specification used for the material. Mesh count and opening size are separate but related measurements.
Tools Needed
- Calibrated outside micrometer, preferably digital
- Clean lint-free cloth
- Small brush for removing loose debris
- Ruler or mesh-counting scale
- Notepad or digital measurement record
- Relevant wire-gauge chart or product specification
Step 1: Clean the Wire
Remove dust, loose coating, oil, and debris from the selected mesh area before measuring. Surface buildup can make the wire appear thicker than it actually is, producing an incorrect gauge result. Choose an undamaged area away from cut edges, bends, welds, corrosion, or visibly flattened wires for accurate measurement results.
Step 2: Select a Wire
Choose one straight wire strand that is accessible and not crossing another strand at the measurement point. For woven mesh, select a wire in either direction, but identify the direction being checked. Some products use different wire diameters in perpendicular directions, particularly specialized woven patterns or industrial screens.
Step 3: Position the Micrometer
Open the micrometer and place its anvil and spindle on opposite sides of the single selected wire. Keep the instrument perpendicular to the wire rather than angled across it. Do not include gaps, adjacent wires, coating flakes, or woven intersections between the measuring faces during this positioning stage.
Step 4: Close the Micrometer
Close the micrometer gently until its faces contact the wire without squeezing or flattening it. Use the ratchet or friction thimble, when provided, to apply repeatable pressure. Excess force can slightly deform softer wire and create a falsely small diameter reading, especially with fine stainless, aluminum, or copper mesh.
Step 5: Record the Diameter
Read and record the measured wire diameter in the units shown by the micrometer, such as inches, millimeters, or thousandths of an inch. Label the result with the mesh direction and location. Wire diameter is commonly expressed in millimeters, micrometers, or thousandths of an inch in technical specifications.
Step 6: Repeat Measurements
Measure additional wires at several locations across the sample, keeping every measurement away from intersections and damaged areas. Record each individual reading rather than relying on memory. Multiple readings reveal variation caused by manufacturing tolerance, wear, coating thickness, distortion, or inconsistent wire diameter throughout the mesh panel.
Step 7: Calculate the Average
Add all recorded diameter readings and divide the total by the number of measurements taken. Use this average as the representative wire diameter for the mesh sample. If one result differs sharply from the others, inspect that point for damage, coating buildup, or incorrect micrometer placement before deciding whether to retest.
Step 8: Identify the Gauge
Compare the averaged diameter with the correct gauge chart for the mesh material and industry. Gauge numbers are not universal across every wire type; steel, stainless steel, galvanized wire, and other materials may use different systems. When possible, use the manufacturer’s specification rather than assuming a generic gauge equivalence.
Step 9: Count the Mesh
Count the number of open spaces—not wires—within exactly one linear inch, beginning at a wire center and ending one inch away. Repeat this count in the perpendicular direction for square woven mesh. The result is mesh count, such as 20 mesh, meaning twenty openings per linear inch.
Step 10: Calculate the Opening
Calculate approximate opening size after determining both mesh count and wire diameter. In inches, use:
Convert inches to microns by multiplying by 25,400. Identical mesh counts can have different openings when wire diameters differ.
Wire Mesh Gauge Chart
A wire mesh gauge chart converts a measured wire diameter into a gauge number. Measure the wire itself with a micrometer, then compare the result with the appropriate chart for the material and gauge system. Lower gauge numbers indicate thicker wire; higher gauge numbers indicate thinner wire.
Wire gauge, mesh count, and opening size are different specifications. Gauge identifies wire thickness, mesh count identifies openings per linear inch, and opening size identifies the clear space between wires. A complete mesh specification should state all three values, plus material, weave pattern, and finish.
Gauge charts are reference tools rather than proof of a product’s compliance. Coatings, corrosion, manufacturing tolerances, and different gauge standards can affect a reading. For critical screening, filtration, or test-sieve work, verify requirements against the supplier documentation and applicable ASTM E11 specification.
Key Uses of Wire Mesh Gauge Chart
- Confirm whether delivered wire mesh matches a purchase specification.
- Identify the approximate thickness of unmarked galvanized or stainless mesh.
- Compare mesh products that have similar opening sizes but different wire strengths.
- Estimate open area, weight, rigidity, and screening performance.
- Avoid confusing a “20 mesh” count with “20 gauge” wire thickness.
How to Use Wire Mesh Gauge
Measure only a clean, undamaged single wire with an outside micrometer. Take readings in several locations, calculate the average, and use the diameter—not the mesh opening—to find the closest gauge. Record the measurement in both inches and millimeters to reduce conversion mistakes when comparing supplier information.
Do not assume that a given mesh count always has one gauge. For example, two 20-mesh screens may use different wire diameters, producing different clear openings and strengths. For woven wire, opening size is calculated as
using inches.
For a practical example, a measured wire diameter of 0.0475 inch, or 1.207 mm, corresponds approximately to 18 gauge in the industrial mesh chart below. This does not establish mesh count; count the openings across one linear inch separately to identify the complete wire-mesh specification.
Wire Mesh Gauge Chart
| Gauge | Wire diameter, inches | Wire diameter, millimeters |
|---|---|---|
| 1 | 0.2830 | 7.188 |
| 2 | 0.2625 | 6.668 |
| 3 | 0.2437 | 6.190 |
| 4 | 0.2253 | 5.723 |
| 5 | 0.2070 | 5.258 |
| 6 | 0.1920 | 4.877 |
| 7 | 0.1770 | 4.496 |
| 8 | 0.1620 | 4.115 |
| 9 | 0.1483 | 3.767 |
| 10 | 0.1350 | 3.429 |
| 11 | 0.1205 | 3.061 |
| 12 | 0.1055 | 2.680 |
| 13 | 0.0915 | 2.324 |
| 14 | 0.0800 | 2.032 |
| 15 | 0.0720 | 1.829 |
| 16 | 0.0625 | 1.588 |
| 17 | 0.0540 | 1.372 |
| 18 | 0.0475 | 1.207 |
| 19 | 0.0410 | 1.041 |
| 20 | 0.0348 | 0.884 |
| 21 | 0.0317 | 0.805 |
| 22 | 0.0286 | 0.726 |
| 23 | 0.0250 | 0.635 |
| 24 | 0.0230 | 0.584 |
| 25 | 0.0204 | 0.518 |
| 26 | 0.0181 | 0.460 |
| 27 | 0.0173 | 0.439 |
| 28 | 0.0162 | 0.411 |
| 29 | 0.0150 | 0.381 |
| 30 | 0.0140 | 0.356 |
| 31 | 0.0132 | 0.335 |
| 32 | 0.0128 | 0.325 |
| 33 | 0.0118 | 0.300 |
| 34 | 0.0104 | 0.264 |
| 35 | 0.0095 | 0.241 |
| 36 | 0.0090 | 0.229 |
| 37 | 0.0085 | 0.216 |
| 38 | 0.0080 | 0.203 |
| 39 | 0.0075 | 0.191 |
| 40 | 0.0070 | 0.178 |
This chart reflects an industrial wire-mesh gauge reference. Always confirm the applicable material, coating condition, supplier standard, and required tolerance before approving wire mesh.
How to Choose Right Wire Mesh?
Choosing the right wire mesh by gauge means matching wire thickness to the strength, durability, opening, and flexibility your application requires. A lower gauge number means thicker wire and generally greater rigidity, while a higher gauge number means thinner wire and finer construction. Select gauge alongside mesh count, opening size, material, and operating conditions.
Wire Mesh Selection Factors
- Define the load requirement. Choose a lower gauge number when the mesh must resist impact, support material weight, contain animals, protect equipment, or withstand frequent handling. Thicker wire typically improves rigidity and wear resistance, making it suitable for guards, fencing, quarry screens, and heavy-duty industrial barriers.
- Match the opening requirement. Choose gauge only after identifying the clear opening your application needs. A thicker wire reduces the available opening at the same mesh count, while thinner wire preserves more open space. For filtration or particle separation, establish the required cut point before selecting wire thickness.
- Consider mesh count carefully. Mesh count describes the number of openings or wires per linear inch, but it does not independently define the product. Two meshes with the same count can use different wire gauges, producing different aperture sizes, open areas, weights, strengths, and screening performance.
- Evaluate the working environment. Select wire material and gauge for exposure to moisture, chemicals, abrasion, heat, sunlight, and corrosion. A moderately thick wire may still fail prematurely without an appropriate material or finish. Stainless steel, galvanized steel, and coated wire each offer different durability advantages.
- Balance open area and strength. Thicker, lower-gauge wire strengthens a mesh but occupies more surface area, reducing airflow, drainage, light transmission, and product throughput. Higher-gauge wire provides more open area and flexibility, but it may be unsuitable where heavy loads, abrasion, or security are priorities.
- Account for installation conditions. Choose a gauge that fits the fabrication and mounting method. Heavier mesh may require stronger posts, frames, fasteners, welding equipment, or cutting tools. Lighter mesh is easier to bend, roll, and trim, although it can deform if it is not adequately supported.
- Check wear and service life. For abrasive bulk materials, vibrating screens, or repetitive contact, use a sufficiently thick wire to allow for expected wear. Screen maintenance guidance notes that worn wire diameter can determine replacement needs, so gauge affects both reliability and planned maintenance intervals.
- Confirm the complete specification. State the material, weave or weld style, mesh count, opening size, wire diameter, gauge reference system, sheet or roll dimensions, and finish. Industrial woven wire cloth specifications distinguish wire diameter from mesh designation because both are essential to consistent performance.
Gauge Selection Guide
| Application | Typical gauge direction | Why it fits |
|---|---|---|
| Heavy-duty fencing and animal enclosures | Lower gauge number; thicker wire | Resists impact, sagging, animal pressure, and repeated contact |
| Machine guards and security barriers | Lower to medium gauge number | Provides rigidity and protection while retaining visibility |
| Concrete reinforcement and welded panels | Lower to medium gauge number | Supports placement, maintains panel shape, and meets engineered design requirements |
| Quarry, mining, and aggregate screening | Lower gauge number; abrasion-resistant wire | Handles abrasive materials, vibration, and demanding operating conditions |
| General ventilation and insect screening | Higher gauge number; thinner wire | Maximizes open area, airflow, and visibility with low structural demand |
| Fine filtration and laboratory sieving | Higher gauge number with controlled diameter | Helps achieve precise openings for particle separation |
| Decorative inserts and architectural panels | Medium to higher gauge number | Balances appearance, formability, open area, and reasonable durability |
| Light-duty cages and craft projects | Medium to higher gauge number | Allows easier cutting and forming without excessive material weight |
Conclusion
Understanding wire mesh gauge makes it easier to compare wire diameter, strength, and performance between different mesh products. Gauge numbers can help you identify the approximate thickness of the wire, while other specifications such as mesh opening, material, and surface treatment also affect the final product’s performance and suitability for specific applications.
When choosing wire mesh, we recommend considering the application, required strength, environmental conditions, mesh opening, and installation requirements. We can customize wire diameter, mesh size, dimensions, and surface treatment to meet different project needs. Whether you need mesh for fencing, construction, agriculture, landscaping, or industrial applications, selecting the right specifications can improve performance.
If you are looking for reliable wire mesh for your project, we can provide different types and specifications according to your requirements. We focus on consistent quality and flexible customization for wholesale orders. Contact Apscreens to discuss your specifications and get wholesale wire mesh from Apscreens for your next project.