Bending wire mesh is common in construction, manufacturing, fencing, equipment protection, and other applications. However, getting clean and accurate bends can be difficult without the right tools and technique. The mesh type, wire diameter, opening size, and bending angle all affect the final result. Understanding these factors helps you avoid deformation and damage.
In this guide, we will explain how to bend wire mesh using practical and easy-to-follow techniques. You will learn which tools can help, how to prepare the mesh, and how to create accurate bends for different applications. Whether you work with welded or woven mesh, these methods can improve efficiency and consistency.
What is Wire Mesh?
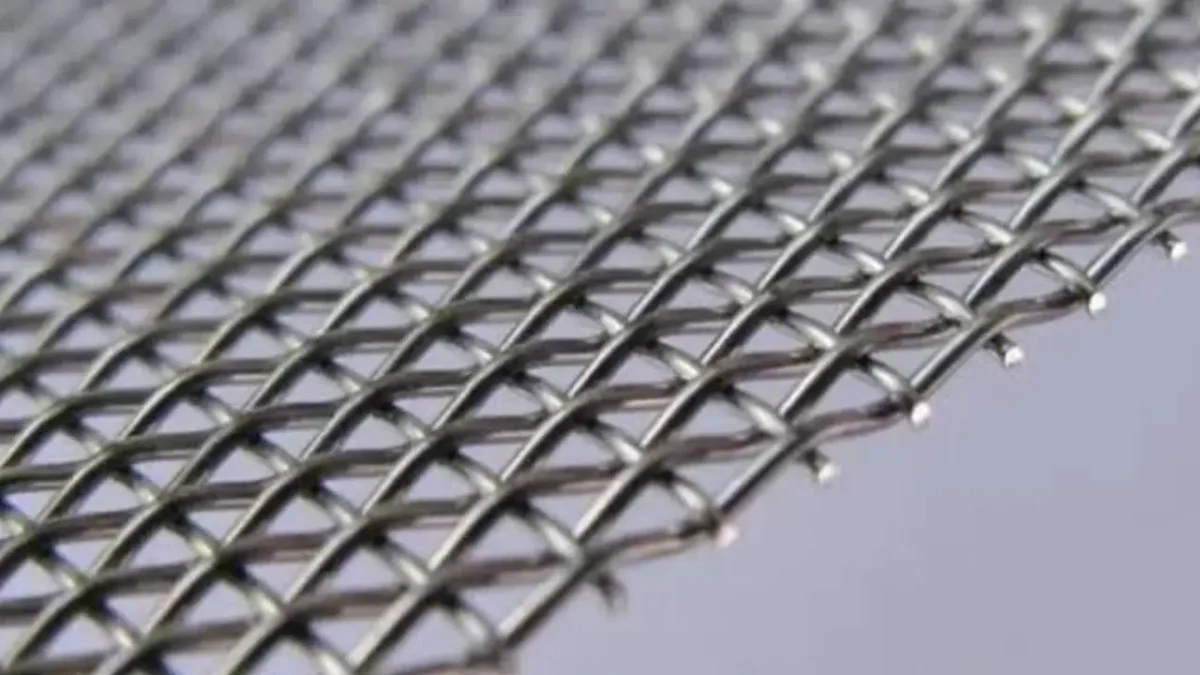
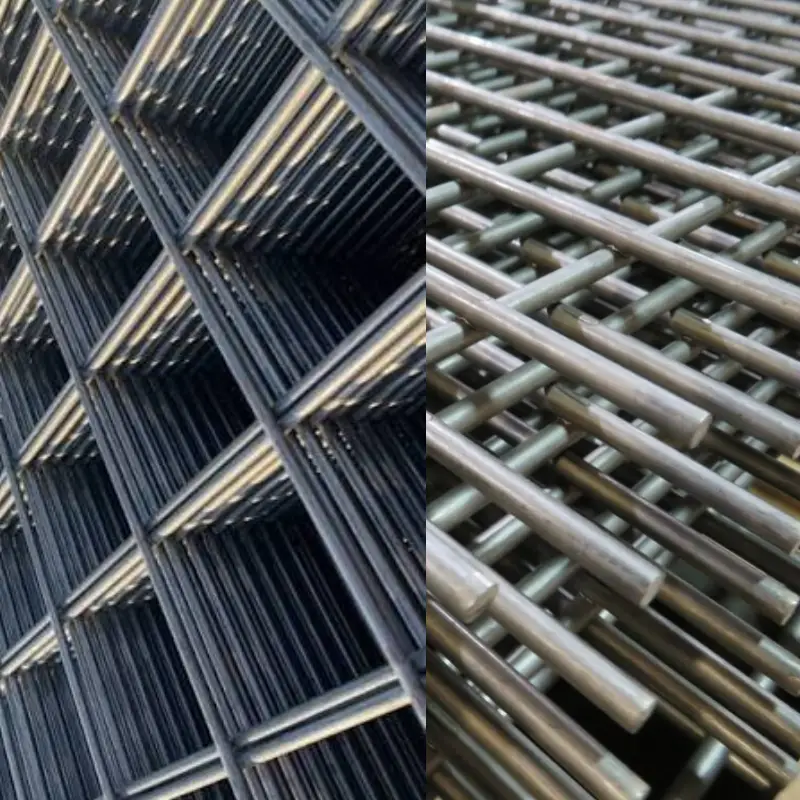
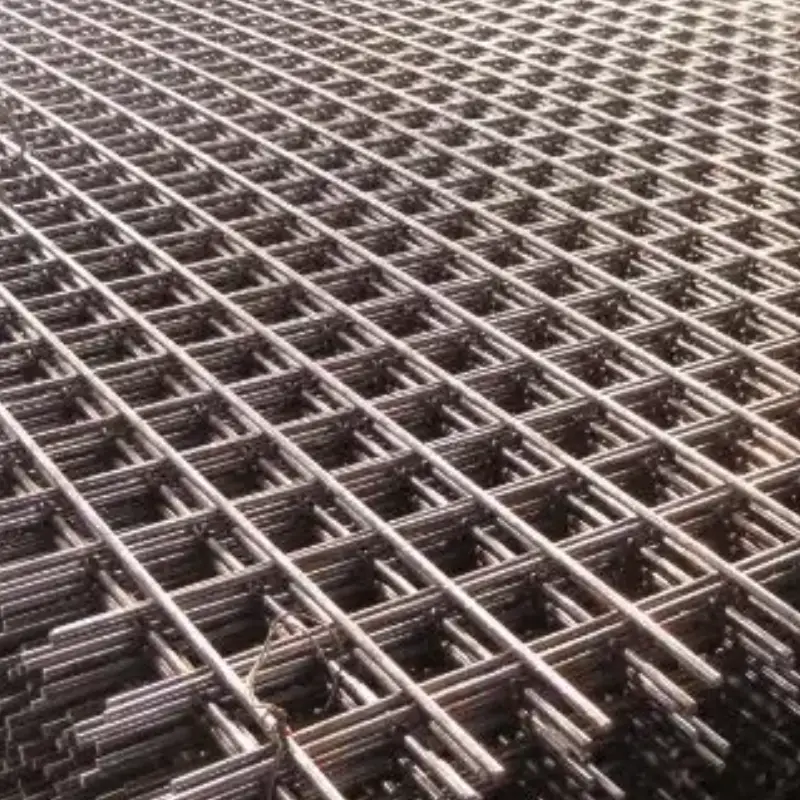
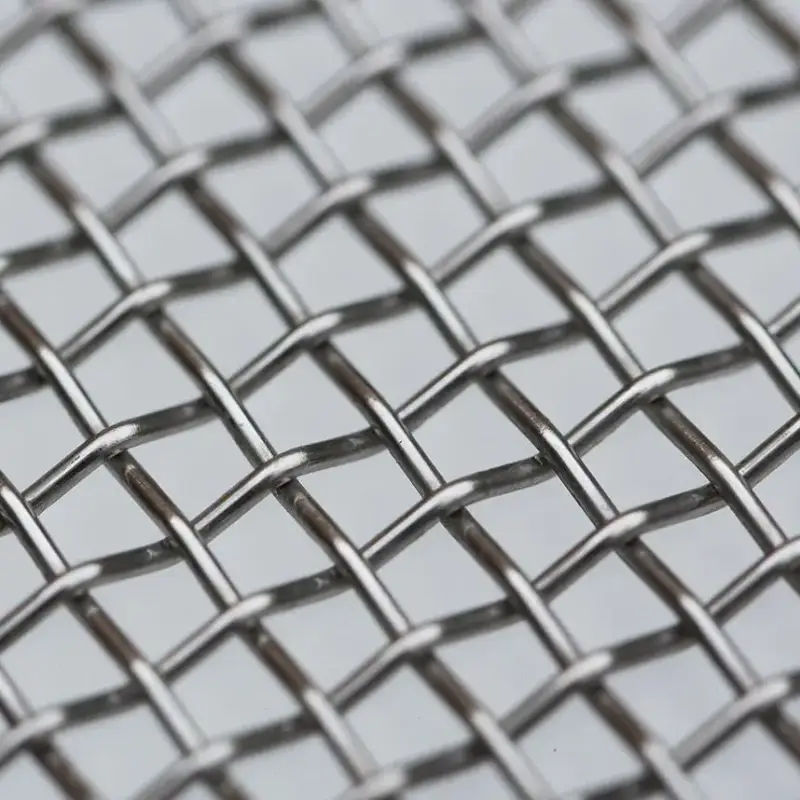
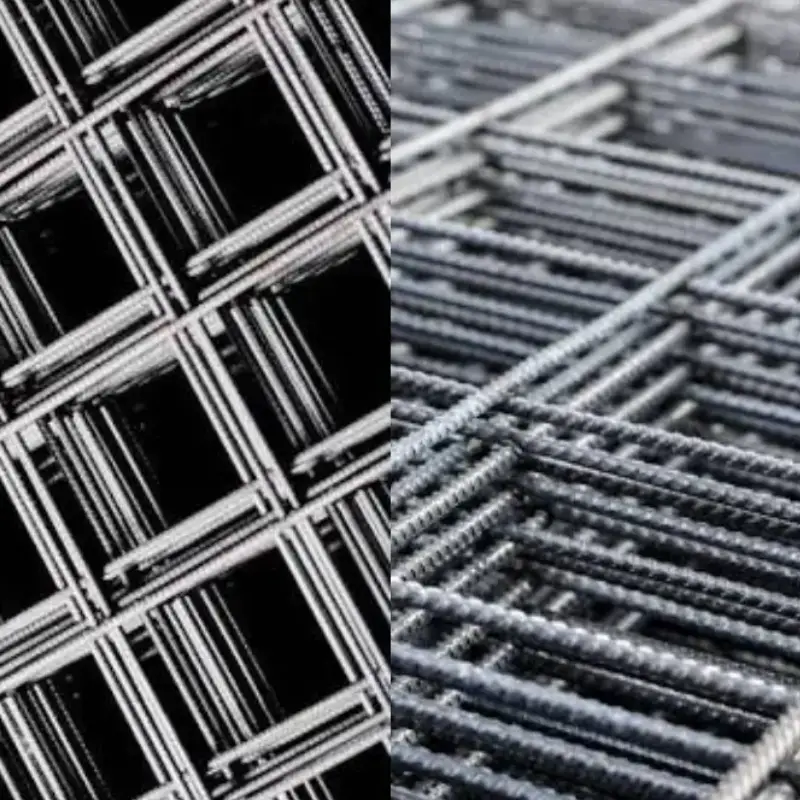
Wire mesh is a grid-like material made by weaving or welding metal wires into evenly spaced openings. Also called wire cloth or wire fabric, it may be supplied in rolls, sheets, or rigid panels for industrial, commercial, construction, and residential work. Its opening size, wire thickness, material, and manufacturing method determine its strength, flexibility, visibility, and filtering performance.
Common materials include plain steel, galvanized steel, stainless steel, aluminum, copper, and other alloys. Woven mesh interlaces wires like textile fabric, while welded mesh fuses crossing wires to form a stiffer grid. Typical uses include fencing, concrete reinforcement, safety guards, screens, filters, shelves, partitions, animal enclosures, and ventilation panels.
Benefits of Wire Mesh
- Strength and support: Wire mesh provides dependable tensile strength while using less material than solid sheet products. In concrete and masonry applications, it helps distribute loads, reinforce surfaces, and limit cracking; welded forms retain a stable grid under pressure or impact.
- Airflow and visibility: Its open pattern permits air, light, and—in appropriate designs—water to pass through. This makes wire mesh useful for machine guards, storage cages, fencing, architectural screens, and partitions where security or separation is needed without sacrificing sightlines or ventilation.
- Filtering precision: Mesh openings can be manufactured to controlled sizes, allowing particles to be separated, screened, or retained. Woven wire mesh is especially useful in filtration and sieving because consistent apertures support repeatable processing of powders, aggregates, liquids, and other materials.
- Durability: Material selection and protective finishes can give wire mesh strong resistance to weathering, corrosion, and routine wear. Galvanized or stainless-steel mesh is often chosen for outdoor, wet, or demanding settings, helping extend service life and reduce replacement needs.
- Easy fabrication and installation: Many mesh products can be cut, bent, welded, fastened, or shaped to fit a project. Their comparatively light weight also makes handling simpler, while preassembled welded panels can reduce field labor and accelerate installation compared with individually placed components.
- Cost efficiency: Wire mesh can cover large areas using relatively little metal while serving structural, protective, or screening functions. Its long service life, simpler installation, low maintenance requirements, and ability to replace heavier panels or supports can lower total project costs.
How to Bend Wire Mesh?
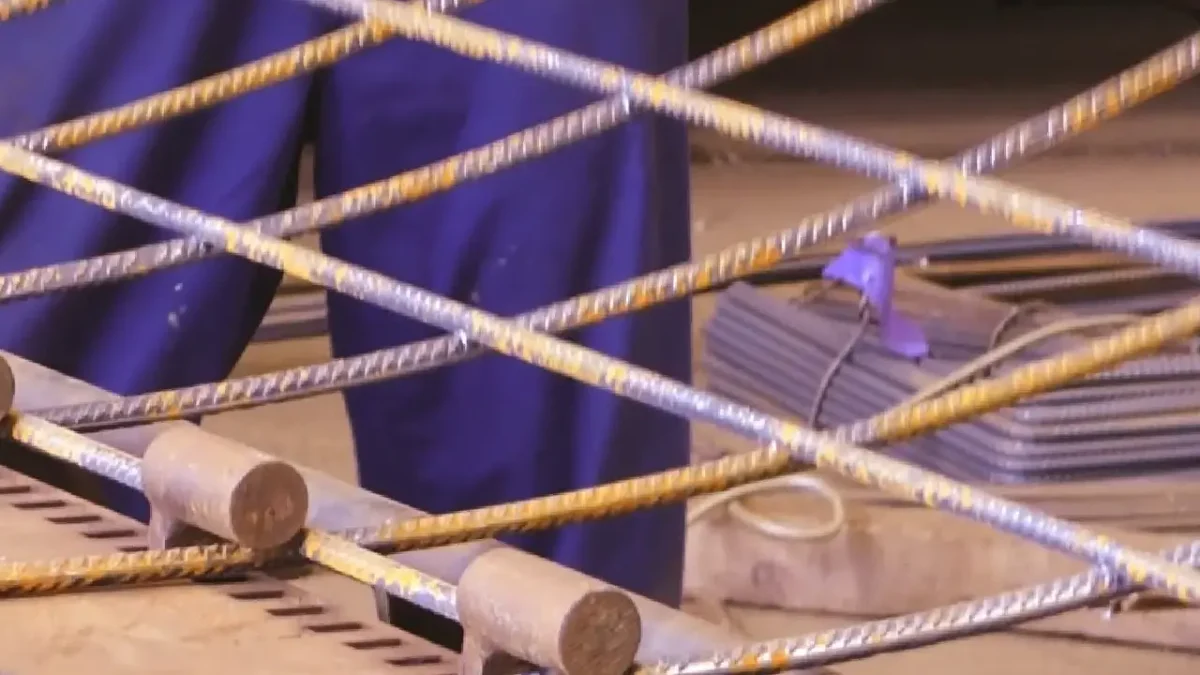
Bending wire mesh requires steady pressure, accurate marking, and proper support along the bend line. Thin mesh can often be shaped with pliers or by hand, but welded or heavier-gauge mesh should be clamped in a vise between straight boards or angle iron to prevent distorted openings and damaged welds. Wear gloves and eye protection throughout.
Tools Needed for bending wire mesh:
- Cut-resistant work gloves
- Safety glasses
- Measuring tape or steel ruler
- Permanent marker or chalk
- Flat-nose or locking pliers
- Bench vise or heavy-duty clamps
- Two straight wooden boards or angle-iron pieces
- Rubber or soft-faced mallet
- Wire cutters or bolt cutters
- File for smoothing cut ends
- Square or angle guide
Step 1: Plan the bend
Decide whether the mesh needs a crisp corner, shallow angle, curved profile, or box-shaped fold. Measure the finished dimensions first, including any overlap or edge allowance. Identify whether the mesh is woven or welded, because welded intersections require more careful support to avoid cracking or separating during forming operations.
Sketch the shape and determine the exact bend line before touching the mesh. For a 90-degree fold, account for the wire diameter and intended inside corner radius. Avoid placing a bend directly through weakened, rusty, cut, or damaged sections, since those areas can deform unevenly or fail under pressure.
Step 2: Inspect and prepare mesh
Lay the wire mesh flat on a sturdy workbench, concrete floor, or other stable surface. Inspect it for bent strands, loose welds, sharp cut ends, corrosion, and irregular openings. Straighten small distortions with pliers before bending so the finished shape remains square, aligned, and structurally consistent across its entire length.
Put on cut-resistant gloves and safety glasses before handling the material. Trim only unnecessary sections using wire cutters or bolt cutters, then file exposed ends smooth. Keep hands clear of the future bend area, because released tension can cause wire edges to snap, shift unexpectedly, or create sharp projections.
Step 3: Measure and mark bend line
Use a measuring tape or steel ruler to locate the bend position from a straight, finished edge. Mark several matching points across the mesh width rather than relying on one mark. Connect these points with a straight line, or use a board as a guide, ensuring the planned fold stays level.
For repeated bends, create a simple template from cardboard, plywood, or angle iron. Check the line against your drawing and confirm that it leaves sufficient material on both sides. A carefully marked line reduces crooked folds, prevents wasted material, and makes it easier to position clamps accurately before pressure is applied.
Step 4: Clamp the mesh securely
Place the marked bend line exactly along the edge of a workbench, vise jaw, or lower clamping bar. Sandwich the mesh between two straight boards or angle-iron pieces, then tighten clamps evenly across the full width. This distributes force and helps prevent individual wires from twisting, slipping, or deforming.
Leave only the section intended to move extending beyond the clamped edge. For wide panels, use several clamps and verify that the line remains straight before bending. Do not clamp directly on a welded intersection if possible; supporting adjacent wire runs lowers localized stress and protects the weld points.
Step 5: Bend with gradual pressure
Lift or push the free mesh section slowly with both hands, applying force evenly from one end toward the other. For light-gauge mesh, make several small movements instead of one sudden pull. Gradual bending produces a cleaner angle and reduces the chance of kinking wires or breaking welded connections.
Use flat-nose pliers to refine short edges and a rubber mallet to make gentle, controlled adjustments against a protected surface. Do not strike the mesh aggressively with a steel hammer. If resistance becomes excessive, stop and improve clamping support rather than forcing the material beyond its workable limit.
Step 6: Check angle and alignment
Release the clamps carefully and compare the bend with a square, angle guide, or project template. Check that the mesh openings remain reasonably uniform, the fold is straight, and welded points have not separated. Mesh may spring back slightly after pressure is removed, especially when made from steel wire.
Make corrections in small increments by reclamping the panel and bending only where needed. Slightly overbending before release can compensate for springback, but avoid repeated back-and-forth adjustments because they fatigue metal. For a curved shape, form progressively around a pipe, rod, or appropriately sized bending form.
Step 7: Finish and secure edges
Inspect the completed piece from both sides for sharp ends, loose strands, cracked welds, and uneven sections. Trim protruding wires with cutters where necessary, then smooth cut points using a metal file. If the mesh will be touched regularly, cover exposed edges with trim, caps, or protective edging.
Secure the bent mesh to its final frame, fence, cage, or structure using suitable fasteners, ties, clips, or welds. Confirm that the finished panel sits stable without flexing excessively. For heavy-gauge, galvanized, stainless, or structural mesh, use professional fabrication equipment or an experienced metalworker when needed.
Methods to Bend Wire Mesh
Bending wire mesh can be done manually for small, light-gauge pieces or with dedicated fabrication equipment for larger, thicker, and repetitive work. The best method depends on mesh type, wire diameter, panel size, bend radius, required accuracy, and whether the finished part needs a sharp fold, gradual curve, or reinforced edge.
Methods to bend wire mesh
- Hand and plier bending: Flat-nose, needle-nose, or locking pliers work well for small sections of thin, flexible mesh. Grip close to the intended line and bend gradually in short increments. This method suits repairs, craft projects, edge adjustments, and small custom shapes, but it is slow for wide panels.
- Bench-edge bending: Position the mesh along a strong, straight workbench edge, then clamp it between boards or metal bars. Apply steady pressure to the exposed section until it reaches the target angle. This practical method produces long, straight folds in light or medium-gauge mesh without specialized machinery.
- Vise and clamping-bar bending: Secure the mesh tightly in a bench vise, preferably between angle iron, hardwood, or straight steel bars. Leave only the bend area exposed and pull evenly. The clamping support prevents slipping and distributes stress, making this method useful for cleaner, more controlled corners on narrow panels.
- Mallet and forming-block bending: Place mesh over a shaped wood block, steel form, or rounded mandrel, then use a rubber or soft-faced mallet to reshape it gradually. Controlled tapping helps create curves, shallow bends, and localized adjustments while reducing surface damage, flattened wires, and broken welds.
- Mandrel or pipe forming: Wrap flexible mesh around a pipe, tube, post, or cylindrical form with the desired diameter. Secure one end, apply even tension, and form the material progressively. This creates rounded guards, baskets, sleeves, filters, or curved enclosure sections more consistently than attempting a freehand curve.
- Press-brake forming: A press brake bends mesh between a punch and die using controlled force, enabling consistent angles, flanges, channels, and repeatable production. Different tooling produces air bends, bottom bends, or tighter coined forms. This industrial method is appropriate for heavy mesh, precise parts, and production quantities.
- Edge hemming: Hemming folds the mesh edge back over itself and flattens it, reducing exposed sharp wire ends while strengthening the perimeter. It is typically completed in two stages: first create an acute bend, then flatten it with a bar or press. Hemmed edges improve handling safety and appearance.
Why Bending Wire Mesh?
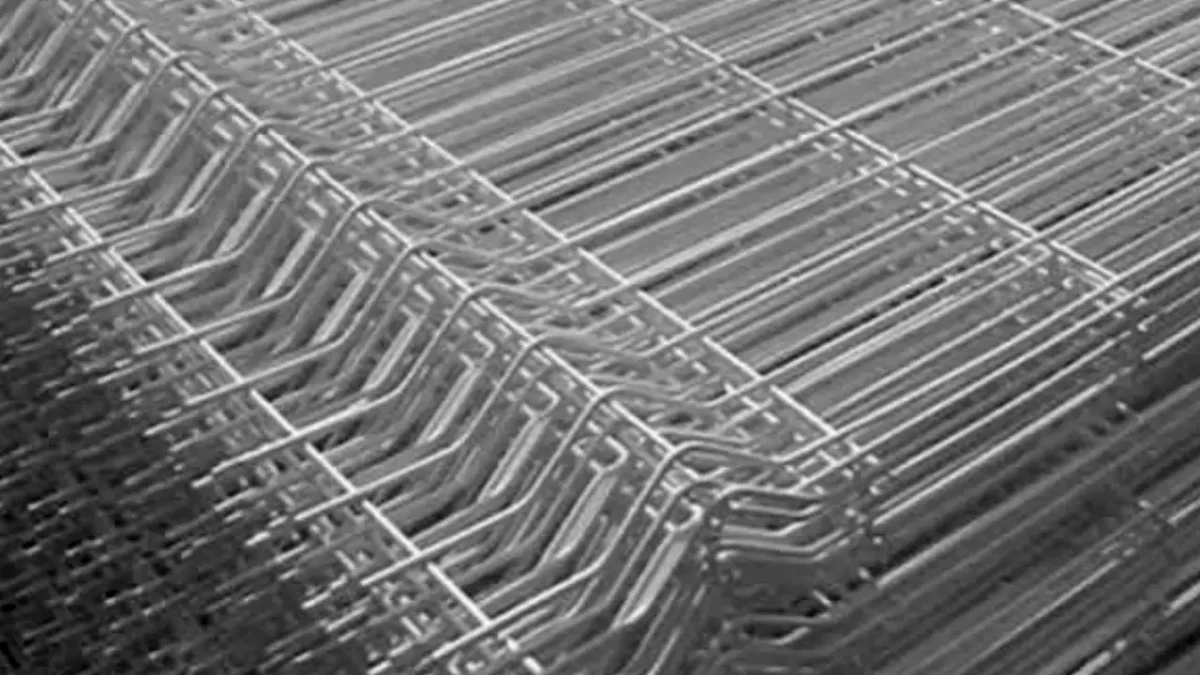
Bending wire mesh turns a flat sheet into a purposeful three-dimensional component. It allows the material to follow corners, create rigid profiles, form protective enclosures, reinforce concrete, and fit site-specific conditions. Properly placed bends can improve stiffness and performance without necessarily requiring thicker wire or additional material.
Reasons for bending wire mesh
- Creates custom shapes: Bending lets fabricators transform flat panels into boxes, trays, cages, baskets, guards, channels, and frames. This adaptability helps the mesh match unique dimensions, corners, openings, and equipment layouts, avoiding the need for multiple separate panels, excessive fasteners, or costly custom components.
- Improves structural stiffness: A flat mesh panel can flex more easily under force. Adding V-bends, U-bends, folds, or formed edges creates a three-dimensional profile that resists deflection and impact. This can strengthen long spans or fence panels without increasing wire diameter, overall panel weight, or material consumption.
- Supports concrete reinforcement: Bent welded wire reinforcement can form cages and frames for columns, piles, precast parts, and other concrete elements. The shaped mesh positions steel where structural demands require it, helps distribute stresses, and can contribute to crack control, anchorage, and more consistent reinforcement placement.
- Improves fencing security: Formed fence panels may include horizontal V-profiles, edge folds, or three-dimensional patterns. These features increase panel rigidity while producing an uneven surface that offers fewer convenient footholds. As a result, the fence can better resist impact, maintain alignment, and discourage climbing attempts.
- Fits difficult installations: Construction sites and finished structures rarely present only straight, uniform surfaces. Bending wire mesh enables installers to work around corners, uneven ground, structural connections, curved boundaries, and custom openings. Making adjustments on site can reduce delays otherwise caused by ordering factory-modified replacement panels.
- Enhances safety and containment: Bent mesh creates raised edges, enclosed sides, and stable boundaries for machine guards, storage baskets, cable trays, animal enclosures, and material-handling systems. These forms help retain items, prevent accidental contact with hazards, and maintain visibility and ventilation that solid sheet barriers may reduce.
- Reduces labor and material waste: Forming one mesh panel into a finished shape can eliminate extra joining pieces, fasteners, cutting operations, and on-site assembly. Pre-bent sections also arrive with consistent spacing and dimensions, which can simplify placement, inspection, and supervision while reducing rework and handling time.
Conclusion
Learning how to bend wire mesh correctly can help you create accurate shapes while reducing unnecessary deformation and material waste. Choosing the right bending method depends on the mesh material, wire thickness, opening size, and required angle. With proper preparation and suitable tools, you can achieve cleaner and more consistent results.
For larger projects, having reliable wire mesh is just as important as using the right bending technique. High-quality mesh provides better strength, stability, and dimensional consistency during fabrication. Before bending, always check the mesh specifications and select a product that matches your application, working conditions, and required shape.
At Apscreens, we provide a wide range of wire mesh products for construction, industrial, filtration, fencing, and custom applications. We can help you choose suitable mesh specifications based on your project requirements. Contact us to discuss your needs and get wholesale wire mesh from our Apscreens for your next project.