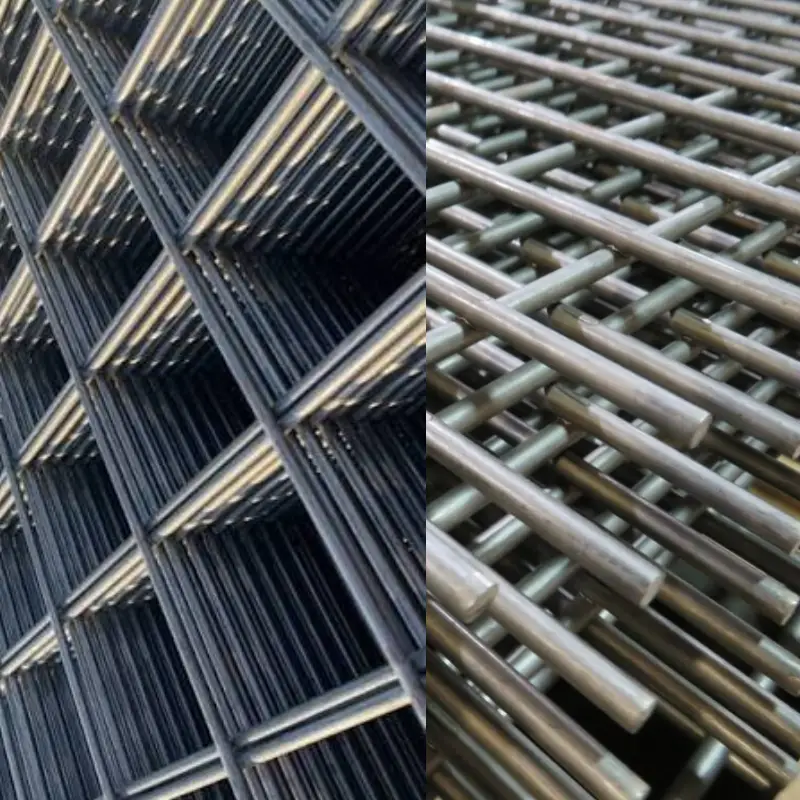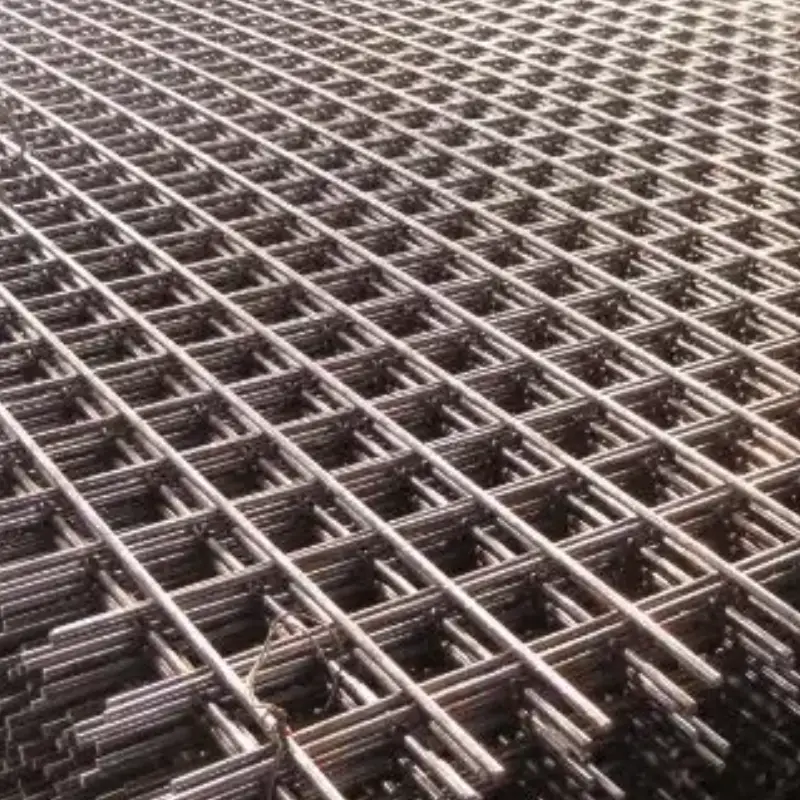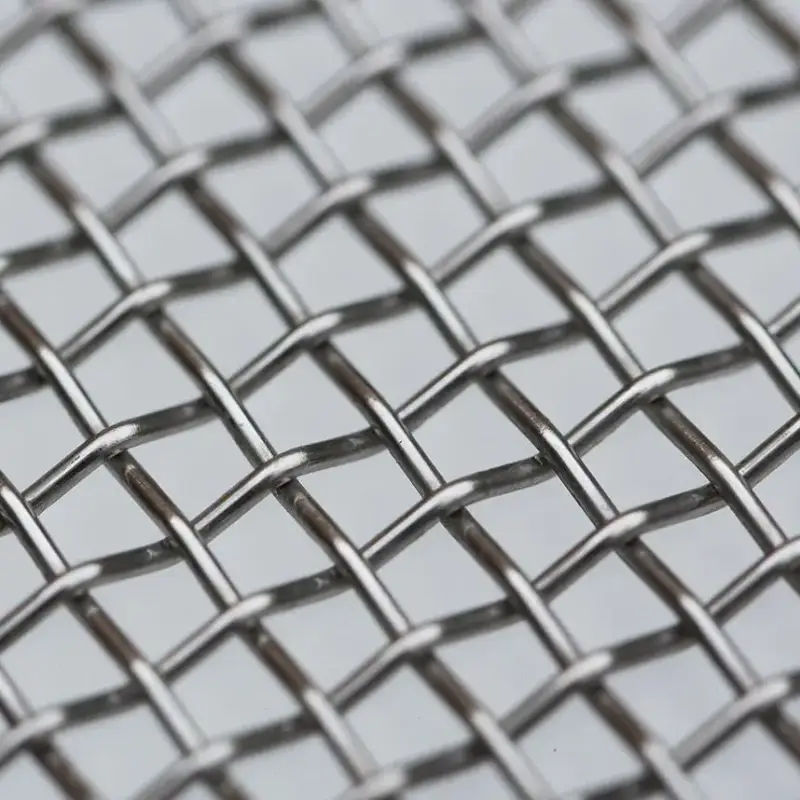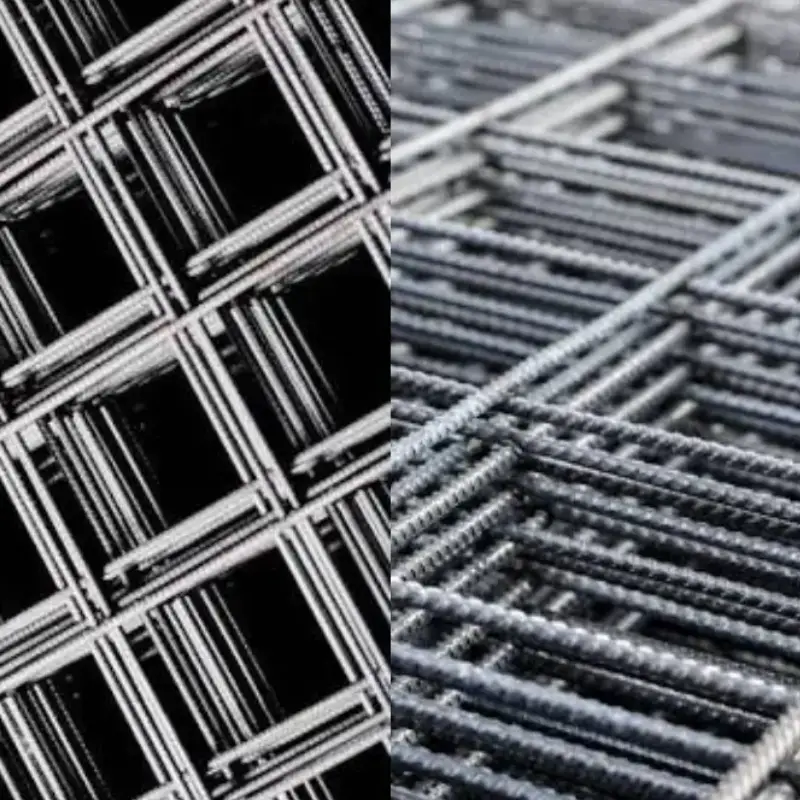
Connecting wire mesh correctly creates a continuous, durable barrier or reinforcement system for fencing, construction, drainage, well screens, and industrial applications. The best connection method depends on mesh material, wire thickness, opening size, expected load, and exposure conditions. Careful preparation helps prevent gaps, loose joints, sharp edges, and premature failure.
Common connection options include overlap joints, tie wire, clips, hog rings, staples, bolts, and welded attachments. Each method offers different levels of strength, speed, and permanence. Before joining mesh sections, align the edges carefully and select corrosion-resistant hardware when working outdoors, underground, near water, or in chemically demanding environments.
Why Connecting Wire Mesh?
Connecting wire mesh creates a continuous surface that performs more reliably than separate, unsecured panels. Secure joints help prevent gaps, shifting, weak edges, and uneven load transfer. This is important for concrete reinforcement, fencing, well screens, drainage systems, industrial guards, and containment projects where strength, alignment, and long-term durability are essential.
Reasons Why Connect Wire Mesh
- Create Continuous Coverage Across Large Areas: Connecting separate sheets or rolls allows mesh to cover wide slabs, long fence lines, large filtration zones, and industrial enclosures without leaving unprotected gaps between individual sections of material.
- Improve Concrete Reinforcement Continuity: Properly overlapped and tied mesh helps distribute stresses across adjoining slab sections. This supports crack control and reduces weak joint areas, provided placement, overlap length, and reinforcement details follow the engineered project design.
- Prevent Mesh Movement During Installation: Ties, clips, or hog rings hold adjoining sections in position while concrete is poured or fencing is tensioned. Stable connections help preserve alignment, prevent separation, and reduce corrective work later.
- Maintain Reliable Security Barriers: Connected wire mesh prevents openings that could weaken a fence or allow access through the barrier. Well-secured joints are particularly valuable around construction sites, equipment storage areas, utility compounds, and restricted industrial zones.
- Support Filtration and Material Retention: Joined mesh sections help create uninterrupted screens for wells, drainage systems, aggregate separation, and debris control. Continuous coverage keeps sediment and unwanted particles from bypassing the mesh through poorly fitted or unsecured joint gaps.
- Improve Resistance to Loads and Pressure: Securely connected mesh shares forces across a wider surface, reducing concentrated stress at panel edges. This can improve stability in fencing, retaining applications, concrete reinforcement, and containment systems exposed to movement or impact.
- Reduce Maintenance and Repair Needs: Loose, unconnected panels may shift, sag, separate, or develop gaps over time. Strong joints help preserve the installation’s shape and function, reducing the likelihood of frequent adjustments, patching, replacement, or unexpected operational interruptions.
- Create a Cleaner Finished Appearance: Consistent overlaps and evenly spaced fasteners produce straight, organized mesh lines. This is especially useful for visible fences, architectural screens, equipment guards, and commercial installations where safety, performance, and professional presentation all matter.
How to Connect Wire Mesh?
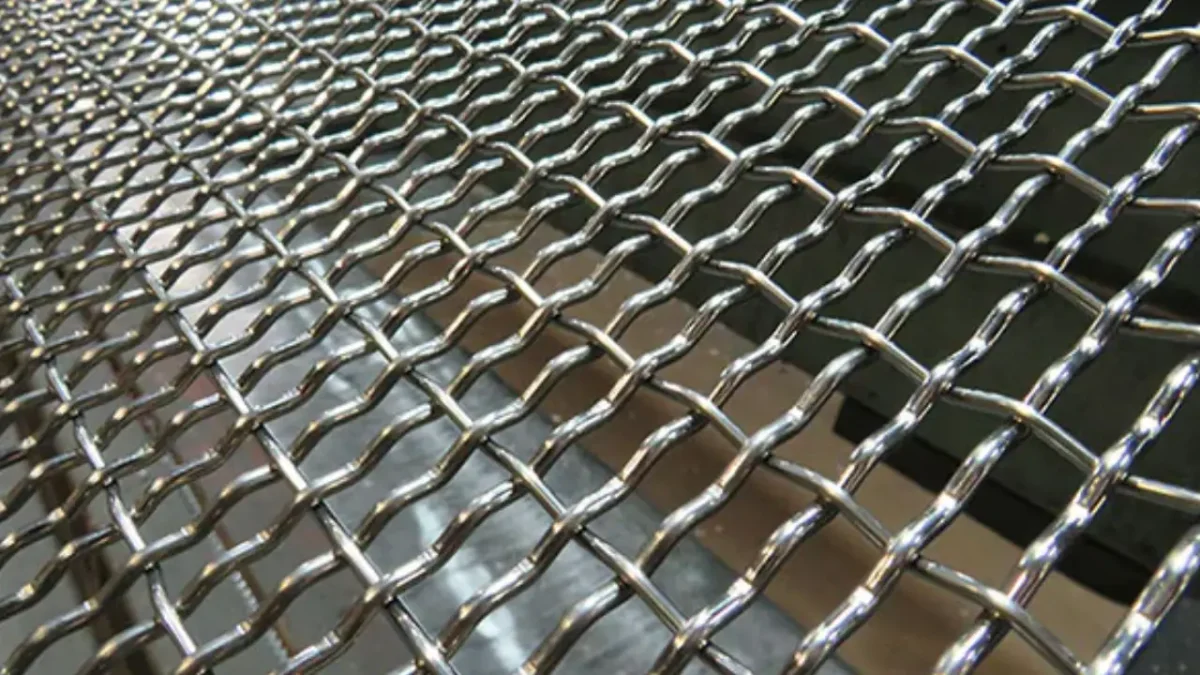
Connecting wire mesh correctly creates strong, continuous coverage for construction, mining, quarrying, slope stabilization, fencing, equipment guards, and containment systems. The right joining method depends on mesh type, load exposure, corrosion conditions, and engineering specifications.
Use approved drawings and site procedures for high-risk applications, especially underground mining, rockfall protection, and structural support work.
Tools Needed for Wire Mesh Connection
- Work gloves
- Safety glasses
- Hard hat
- High-visibility clothing
- Steel-toe boots
- Tape measure
- Chalk or marking paint
- Wire cutters or bolt cutters
- Pliers or fencing pliers
- Tie wire
- Hog-ring pliers and rings
- Approved mesh clips
- Tensioning tool
- Lifting equipment, if required
- Project-approved fasteners
Step 1: Review the Project Requirements
Review the project drawings, specifications, and site safety procedures before joining wire mesh sections. Confirm the approved mesh type, connection method, overlap detail, fastener type, and support arrangement. Construction and mining applications may require engineered connections because ground movement, vibration, falling material, or equipment loads can place substantial stress on the mesh system.
Check whether the project requires tied overlaps, butt joints, connection clips, lacing wire, or another specified fastening system. Do not substitute materials without approval from the project engineer or site supervisor. High-tensile slope mesh and mining ground-support systems often require dedicated connectors installed at prescribed locations, spacings, and orientations to achieve intended performance.
Step 2: Inspect the Mesh Sections
Inspect every mesh section before positioning it for connection. Look for bent wires, broken welds, corrosion, damaged coatings, distorted openings, or debris caught within the panel. Remove defective material from service when it cannot meet project requirements. Starting with undamaged mesh helps create a dependable joint that can safely resist expected project conditions.
Compare the mesh sections to verify that their wire gauge, opening pattern, material grade, and protective finish are compatible. Connecting unmatched products can cause irregular overlaps, weak connections, or corrosion problems. Confirm that panels are oriented correctly before joining them. Proper compatibility is especially important where mesh supports rock, shotcrete, aggregate, soil, or industrial loads.
Step 3: Position the First Mesh Section
Place the first mesh section in its required final location before attempting to connect another panel. Align it with anchors, posts, frames, support ropes, rock bolts, or structural members identified in the project drawings. Keep the mesh flat and properly tensioned where applicable. Avoid placing the sheet where sharp bends or unsupported edges may develop.
Secure the first mesh section temporarily using approved attachment points or temporary fasteners. The panel should remain stable while workers position the adjoining section. Check that edges remain accessible for the specified connection method. Temporary support reduces shifting and improves safety, particularly when handling heavy panels on slopes, elevated platforms, or underground mining work areas.
Step 4: Position the Second Mesh Section
Move the second mesh section carefully into its designated location beside the first installed panel. Use mechanical lifting assistance when the panel weight, location, or site safety plan requires it. Keep hands away from pinch points between mesh sheets. Align the panel without dragging it over sharp surfaces that could damage protective coatings or wire intersections.
Hold the second mesh section in place using approved temporary supports. Verify that its edges are correctly aligned with the first panel before making the permanent joint. Mesh openings should match where the system design requires alignment. Correct positioning makes it easier to form an even overlap or butt joint, reducing uneven force concentrations along the connection line.
Step 5: Create the Required Overlap
Overlap the mesh edges by the exact distance stated in the project drawings or manufacturer instructions. Maintain a consistent overlap along the complete joint length. For specialized rockfall or slope-protection systems, the connection detail may require a particular number of mesh cells instead of a general measurement. Never assume every mesh project uses the same overlap.
Check the overlap for flat, even contact before installing permanent fasteners. Remove folds, bulges, and gaps that could reduce joint performance or collect debris. Keep the joint aligned with the planned load direction. In engineered mining and slope-stabilization systems, improper overlap can reduce load transfer and allow excessive movement under ground or rock pressure.
Step 6: Install the First Fastener
Install the first approved fastener at one end of the prepared mesh joint. Use the project-specified tie wire, clip, lacing wire, ring, or mechanical connector. Close or twist the fastener fully according to the manufacturer’s instructions. Ensure that the first connection captures both mesh sections securely without damaging the wires or protective finish.
Check the first fastener before continuing along the joint. It should sit firmly, hold both layers together, and face the specified direction when connector orientation matters. Bend tie-wire ends inward or downward to prevent snagging and worker injury. A secure starting fastener stabilizes the overlap while the remaining connections are installed across the joint.
Step 7: Install the Remaining Fasteners
Install the remaining fasteners along the mesh joint at the spacing stated in the approved drawings or manufacturer guidance. Work progressively from the first fastener toward the opposite end. Keep fasteners evenly spaced and consistently tightened. In slope-protection systems, some designs require a connector at every mesh cell to maintain required tensile performance.
Verify each fastener captures both mesh layers before moving to the next location. Avoid skipped connections, loose clips, incomplete twists, and damaged rings. Do not use standard hog rings where the engineered system specifically requires high-tensile connectors. The finished seam must remain continuous and non-movable under the expected construction, mining, or geotechnical loading conditions.
Step 8: Remove the Temporary Supports
Remove temporary ties, lifting slings, clamps, or positioning equipment only after the permanent mesh connection is complete. Release supports gradually, watching for movement along the joint. Keep workers clear of the load path during removal. The connected mesh should remain stable without temporary assistance before the installation proceeds to permanent anchors or adjacent panels.
Inspect the joint after temporary supports are removed. Confirm that the mesh stays aligned, maintains the required overlap, and does not sag, separate, or pull away from supports. Reinstall temporary support immediately if movement occurs. Correct any issue before applying load, adding shotcrete, placing concrete, attaching fencing components, or advancing other project activities.
Step 9: Inspect the Completed Connection
Inspect the full mesh connection after all fasteners are installed. Check overlap width, connector spacing, fastening completeness, mesh alignment, sharp edges, and coating damage. Confirm that every specified connection point is secured. For mining and construction work, document the completed joint as required by the site quality-control or ground-support inspection procedure.
Report and correct any damaged wires, missing fasteners, loose clips, uneven overlaps, or unsupported mesh edges before placing the system into service. Do not conceal defective joints with concrete, shotcrete, soil, or installed equipment. A final inspection helps ensure the connected wire mesh can perform its intended reinforcement, containment, protection, or stabilization function safely.
Where to Connect Wire Mesh?
Wire mesh should be connected wherever separate panels or rolls must form one continuous, load-resisting surface. Proper joints are especially important in construction, mining, slope stabilization, concrete reinforcement, fencing, drainage, and industrial protection projects.
The connection location, overlap, and fastener type should follow approved design details, because performance requirements vary significantly by application.
Where to Connect Wire Mesh?
- Between Concrete Reinforcement Sheets: Connect mesh where adjoining sheets meet within slabs, driveways, foundations, floor panels, and pavements. Properly joined sections maintain reinforcement continuity across the pour area and reduce unreinforced gaps that could weaken crack-control performance.
- Along Construction Fence Lines: Join mesh panels at fence posts, corner posts, gate openings, and extensions along a site boundary. Connecting sections securely creates a continuous perimeter barrier that helps control access, contain materials, protect equipment, and improve site safety.
- At Mining Ground-Support Seams: Connect wire mesh at panel seams along mine roofs, tunnel walls, shafts, highwalls, and excavation faces. Secure, engineered joints help create continuous ground support where rock movement, loose strata, vibration, and falling material present significant risks.
- Across Rockfall Protection Slopes: Connect mesh panels on steep slopes, cut faces, road corridors, quarry walls, and unstable rock areas. Mesh seams must transfer forces reliably and prevent debris from escaping between panels. High-strength connector details may be required in draped systems.
- Around Soil Nail and Rock Bolt Locations: Connect and secure mesh where it meets soil nails, rock bolts, anchor plates, or cable systems. These locations transfer load from the mesh to the ground-support system and require the exact hardware and spacing specified by engineering designs.
- At Retaining Wall Reinforcement Areas: Join wire mesh behind retaining walls, reinforced soil structures, gabions, and erosion-control systems where adjacent sections must provide continuous soil restraint. Correct connections help distribute loading, limit local separation, and support stable retaining performance under earth pressure.
- Within Well and Drainage Filtration Systems: Connect mesh at screen joints, drainage channels, filter cages, aggregate separators, and water-control components. Continuous joints prevent sediment from bypassing the filter through openings while maintaining the required flow path for water or process fluids.
- At Industrial Guarding Enclosures: Join mesh sections around machinery guards, storage cages, platform barriers, ventilation screens, and restricted work zones. Secure joints eliminate dangerous openings, retain stored materials, and maintain a protective enclosure without unnecessarily blocking visibility, light, or airflow.
- At Equipment and Conveyor Barriers: Connect mesh panels around conveyors, crushers, sorting systems, loading points, and material-handling equipment. Continuous coverage helps prevent accidental contact with moving components and contains loose materials, provided the guarding design follows applicable workplace safety requirements.
Conclusion
A properly connected wire mesh system improves strength, coverage, and long-term stability across many projects. Whether the mesh is used for fencing, concrete reinforcement, filtration, site security, or equipment protection, secure joints reduce weak points and maintain a consistent surface. Selecting a connection method that matches the application helps the installation perform reliably under everyday pressure and exposure.
Always check joint alignment, overlap distance, fastener spacing, and wire condition before considering the work complete. Loose ties, uneven overlaps, and exposed wire ends can create safety hazards or allow mesh sections to separate over time. Routine inspections are particularly important after heavy weather, ground movement, equipment contact, or frequent operational use in demanding environments.
For reliable materials and cost-effective supply options, source wholesale wire mesh from Apscreens. Selecting the appropriate wire diameter, mesh opening, finish, and panel format can simplify installation while improving durability. With quality mesh, compatible connectors, and careful workmanship, your finished system can provide dependable protection, reinforcement, filtration, or containment for many years.