Wire mesh is a practical reinforcement material used in concrete slabs, driveways, sidewalks, patios, and floors. It helps control shrinkage cracking, improves stability, and supports a more durable finished surface. Correct placement matters because mesh must sit within the concrete rather than rest on the ground beneath the slab during installation.
This guide explains how to select, cut, position, overlap, and secure wire mesh before concrete is poured. It also covers common placement mistakes that can reduce its effectiveness. Whether you are managing a residential or commercial project, understanding proper wire-mesh installation helps produce stronger, longer-lasting concrete work with improved crack control.
What is Wire Mesh?
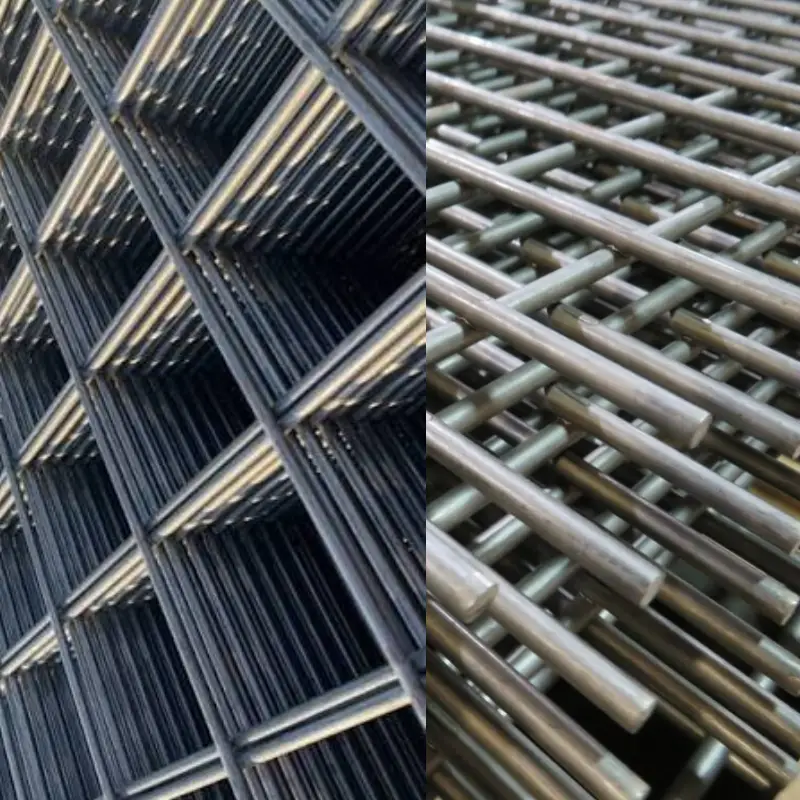
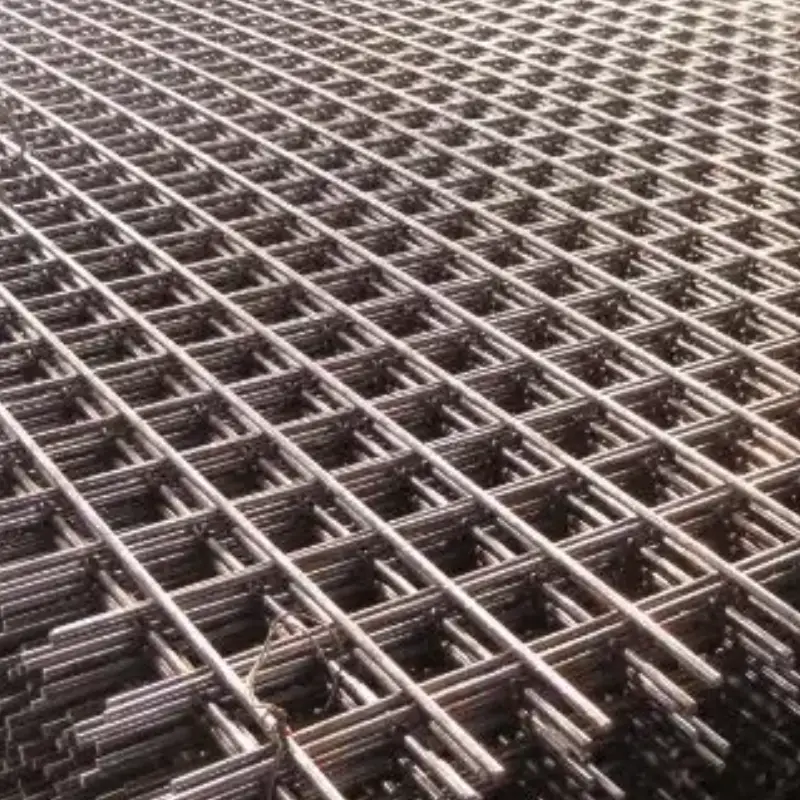
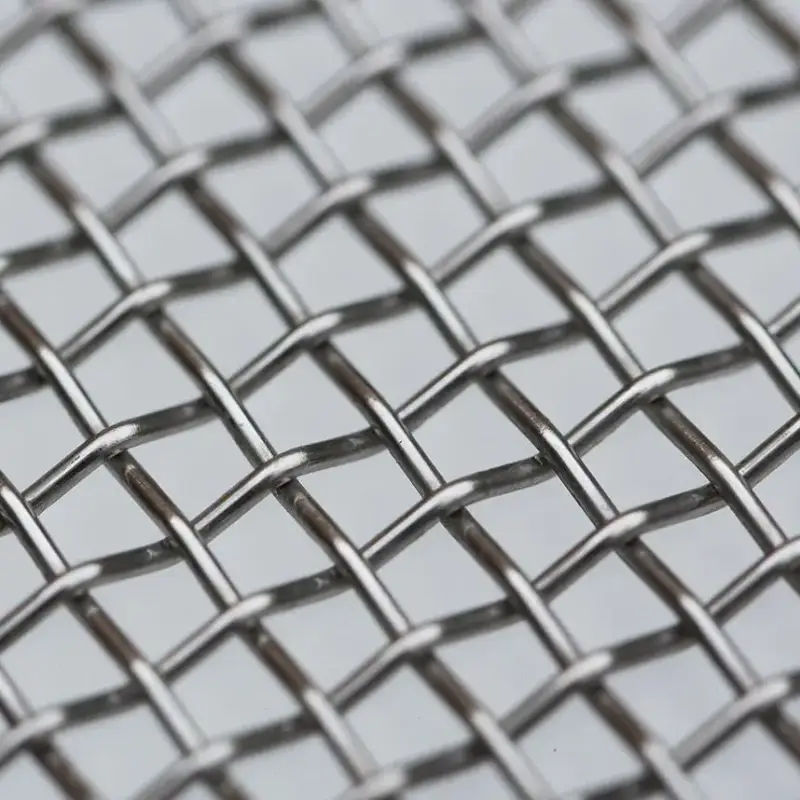
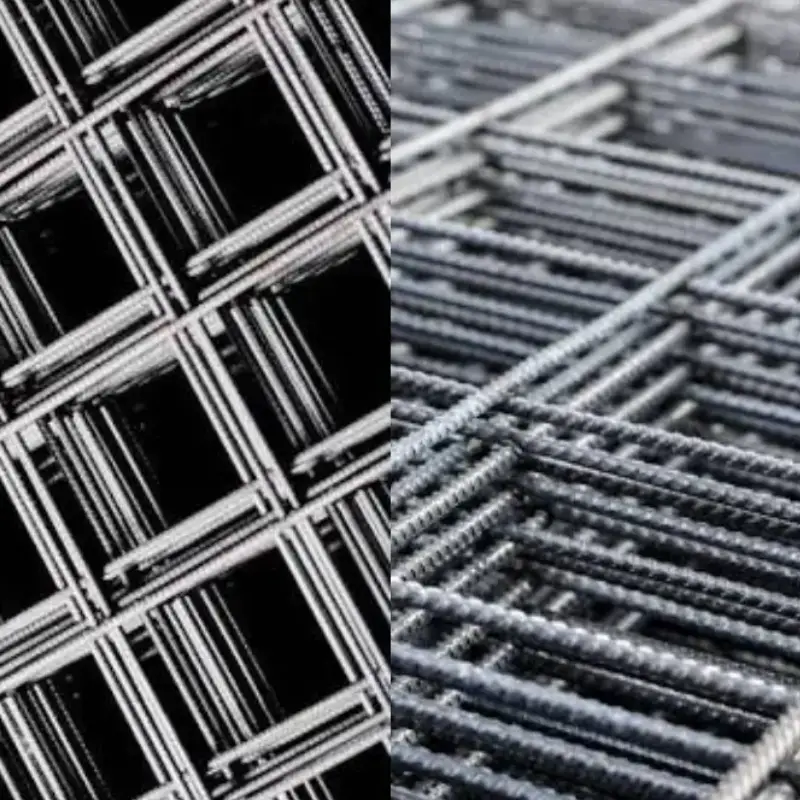
Wire mesh is a grid-like material made by weaving, welding, or interlacing metal wires into evenly spaced openings. It is available in different wire gauges, opening sizes, patterns, and metals, allowing it to meet specific strength, visibility, filtration, and reinforcement requirements.
Welded wire mesh has wires fused at each intersection for a rigid, stable structure, while woven wire mesh uses interlaced wires for greater flexibility. Wire mesh is widely used in concrete reinforcement, fencing, safety guards, screens, filtration, storage, and industrial applications.
How to Use Wire Mesh in Concrete?
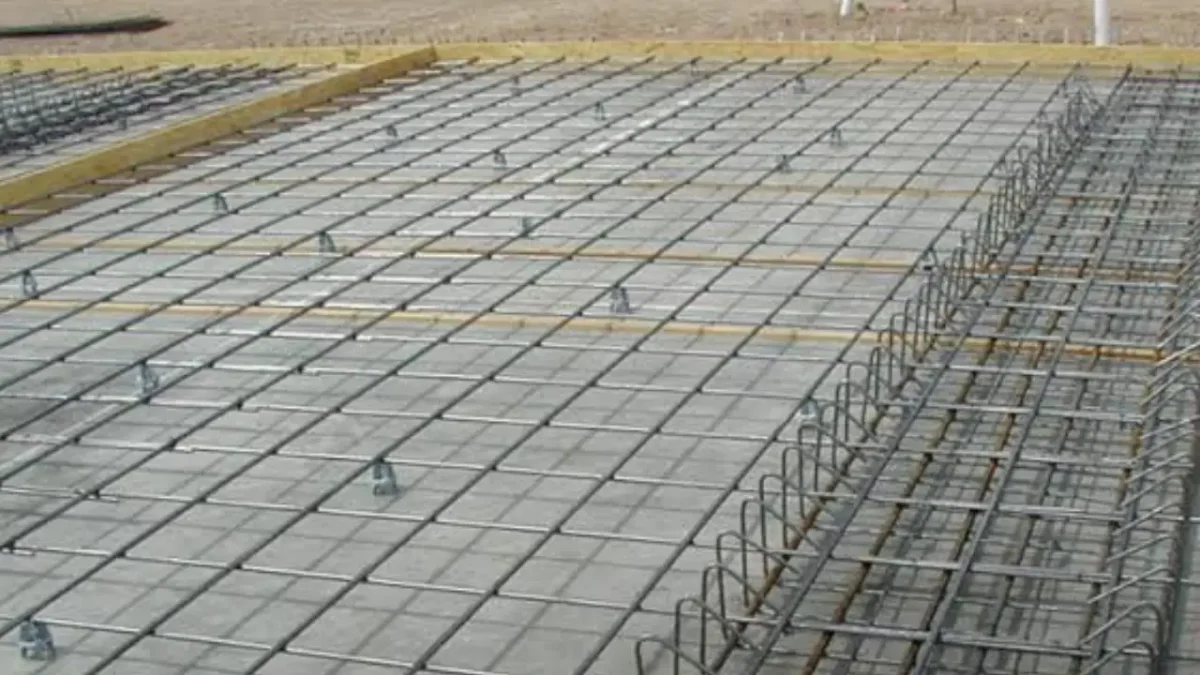
Wire mesh helps concrete slabs control shrinkage cracks and distribute tension across the surface. Proper installation is essential: the mesh must be correctly sized, supported within the slab, overlapped where sections meet, and protected by adequate concrete cover.
For structural or load-bearing work, follow approved plans and consult a qualified engineer.
Tools Needed
- Welded wire mesh
- Measuring tape
- Marker or chalk line
- Bolt cutters or wire cutters
- Tie wire
- Linesman pliers
- Plastic chairs, spacers, or concrete dobies
- Gloves and eye protection
- Concrete rake
- Concrete forms
Step 1: Review the Reinforcement Plan
Review the approved slab design before selecting or placing wire mesh. Confirm the slab thickness, expected loads, mesh specification, edge clearance, lap requirements, and cover requirements. These details determine whether mesh is suitable and how it should be positioned. Do not substitute reinforcement materials without professional approval for structural work.
A clear reinforcement plan prevents common installation errors, including undersized mesh, inadequate overlaps, and incorrect placement depth. Wire mesh generally assists with crack control, but it does not replace engineered reinforcement where rebar or other steel is specified. Keep project documents available so the installation crew can verify requirements throughout preparation.
Step 2: Prepare the Subbase
Prepare the soil or gravel subbase until it is level, stable, and properly compacted. A firm base reduces settlement beneath the slab, which can contribute to cracking and uneven performance. Remove loose debris, standing water, and soft areas before placing reinforcement, forms, or concrete on the prepared area.
Check the prepared surface against the required slab elevation before continuing. Good subbase preparation creates a consistent foundation for the slab, but mesh placement remains important above it. Do not rely on wire mesh to correct weak ground conditions, because reinforcement cannot solve settlement caused by poor support beneath concrete.
Step 3: Install Concrete Forms
Install concrete forms around the perimeter of the pour area according to the planned slab dimensions. Forms establish the concrete boundary, control slab thickness, and provide a reference for mesh clearance. Brace them securely so they remain straight and stable when concrete is placed and finished.
Verify that the forms match the specified layout and elevation before installing the mesh. Properly positioned forms help maintain adequate distance between the reinforcement and exposed slab edges. This concrete cover limits moisture exposure around steel and helps reduce the chance of corrosion-related damage appearing at the finished surface.
Step 4: Measure the Mesh Area
Measure the inside dimensions of the formed pour area before cutting wire mesh. Include the required edge clearance and planned overlap between neighboring mesh sheets in your measurements. Accurate measuring avoids unnecessary waste and ensures every part of the slab receives continuous reinforcement coverage.
Mark the mesh layout clearly, especially for large or irregular slabs. Planning each sheet location before cutting makes overlaps easier to position and reduces onsite adjustments. Keep reinforcement away from form edges according to the project design, because exposed or poorly covered steel may corrode and affect the concrete surface.
Step 5: Cut the Wire Mesh
Cut each mesh sheet or roll to the measured dimensions using suitable wire cutters or bolt cutters. Wear gloves and eye protection, as cut wire ends can be sharp and may spring upward. Cut only after confirming dimensions, overlaps, and clearances against the approved layout.
Keep cut sections organized in their intended placement order. This avoids dragging mesh across the prepared base and reduces confusion during installation. Trim protruding wire ends where necessary so they will not extend toward slab edges, interfere with formwork, or create hazards for workers during placement.
Step 6: Position the First Sheet
Position the first sheet of wire mesh within the forms, beginning at a planned corner. Align it with the layout marks and maintain the specified distance from the slab edges. The first sheet establishes the alignment for every later section, so place it accurately before continuing the reinforcement installation.
Do not treat ground-level placement as the final reinforcement location. Laying mesh temporarily on the base may help with layout, but it must later be elevated to its specified depth. Mesh left on soil or gravel cannot effectively provide the intended crack-control function within the concrete slab.
Step 7: Place the Next Sheet
Place the next mesh sheet beside the first sheet according to the planned layout. Keep the sheet edges straight and parallel so the reinforcement grid remains consistent across the slab. Continue installing additional sheets in sequence until the entire pour area is covered with correctly arranged mesh sections.
Maintain the required perimeter clearance while adding each section. Avoid forcing mesh into position, bending it excessively, or allowing sections to bunch together. A flat, orderly grid makes it easier to create reliable overlaps, provide even support, and preserve reinforcement placement while concrete is installed.
Step 8: Overlap the Mesh Sections
Overlap adjoining mesh sections by the amount specified in the project plan. Guidance commonly calls for at least one full mesh opening or a minimum 6-inch lap, while particular designs may require more. Overlaps transfer reinforcement continuity across joints and help avoid weak, unreinforced lines in the slab.
Check each overlap along its full length before securing it. The mesh should lie flat, maintain its required edge clearance, and not leave unintended gaps between sections. Consistent laps support a continuous reinforcement mat and reduce the likelihood that movement during placement will separate neighboring sheets.
Step 9: Tie the Overlaps
Tie overlapping mesh sections together with appropriate steel tie wire. Use pliers to fasten ties at the required intervals so adjoining sheets remain connected during the concrete pour. Ties hold the planned lap in place; they are not a substitute for correct overlap length or proper support.
Twist each tie securely and bend sharp ends downward or away from working areas. This reduces handling hazards and limits interference with concrete finishing. Inspect the tied joints after completing the reinforcement mat to confirm that sheets will not drift apart, lift unevenly, or shift during placement.
Step 10: Install Mesh Supports
Install plastic chairs, spacers, or concrete dobies beneath the mesh according to the required reinforcement elevation. Supports hold the steel inside the slab instead of on the subbase. Use approved spacers rather than loose gravel, rocks, or broken concrete, which can create inconsistent placement and unreliable support.
Space supports closely enough to prevent the mesh from sagging under worker traffic or concrete placement. Their purpose is to maintain the specified depth across the whole slab. The exact support spacing and height should follow the project plan, slab thickness, mesh weight, and expected installation conditions.
Step 11: Verify Mesh Elevation
Verify the mesh elevation before concrete arrives or placement begins. For many slabs, wire mesh is positioned around the middle or upper third of the thickness; exact depth depends on the slab design. Chairs or spacers should keep the mesh at that level consistently across the pour.
Use the project specification rather than a universal rule for every slab. Incorrect elevation can reduce mesh effectiveness, particularly if it settles to the bottom during the pour. Recheck areas near overlaps, edges, and support locations because these are common points where reinforcement height can change unintentionally.
Step 12: Check Concrete Cover
Check that sufficient concrete cover will surround the mesh on all sides. Adequate cover separates steel from the nearest slab face, helping protect it from moisture ingress and corrosion. Maintain the specified distance from the top surface, bottom surface, and perimeter edges before placing concrete.
Never allow mesh to protrude through the finished concrete surface or touch the forms unless the design specifically allows it. Exposed steel may rust and cause visible staining or deterioration. Confirm cover after lifting the mesh onto chairs, since the elevation process can change its relationship to forms.
Step 13: Place the Concrete
Place concrete carefully into the formed area without dislodging the supported wire mesh. Begin according to the pour plan and distribute material evenly rather than pushing large piles across the reinforcement. Controlled placement helps maintain mesh elevation, overlap alignment, and the concrete cover established before the pour.
Avoid walking directly on unsupported mesh or dragging equipment across it. If workers must cross the reinforcement, use appropriate temporary walk boards when feasible and monitor support locations. Stop and correct any displaced mesh immediately, because wire that falls to the base will not remain in its intended reinforcing position.
Step 14: Consolidate the Concrete
Consolidate the freshly placed concrete using the method appropriate for the mix, slab design, and project specification. Proper consolidation removes trapped air and helps concrete surround the mesh fully. Use internal vibration carefully, working vertically and avoiding actions that could snag, drag, or move the reinforcement grid.
Do not use excessive vibration, which can cause segregation or disturb the mesh supports. Keep the process controlled and observe the reinforcement while consolidation occurs. If the mesh shifts, pause work, restore its specified position, and then continue under the direction of the responsible site supervisor.
Step 15: Finish the Slab
Finish the concrete surface only after confirming the wire mesh remains covered and correctly positioned. Screeding, floating, edging, and texturing should follow the project requirements and concrete conditions. The finished slab surface should be free of exposed wire, which can create safety, durability, and appearance problems.
Avoid pulling mesh upward during finishing as a substitute for proper chair placement. This method can leave reinforcement uneven or return it to the base after workers step on it. Correct support placement before pouring is the more reliable way to keep mesh at its intended elevation within the slab.
Step 16: Cure the Concrete
Cure the concrete according to the mix supplier’s recommendations and the project specification. Proper curing supports strength development, durability, and crack resistance by managing moisture and temperature during the early hardening period. Wire mesh supports crack control, but it does not eliminate the need for sound curing practices.
Protect the slab from rapid drying, extreme temperatures, and premature traffic while it cures. Follow the specified curing duration and method, which may include curing compounds, wet coverings, or other approved approaches. Restricting early loading helps the slab develop performance consistent with its design and reinforcement arrangement.
Wire Mesh Uses in Concrete
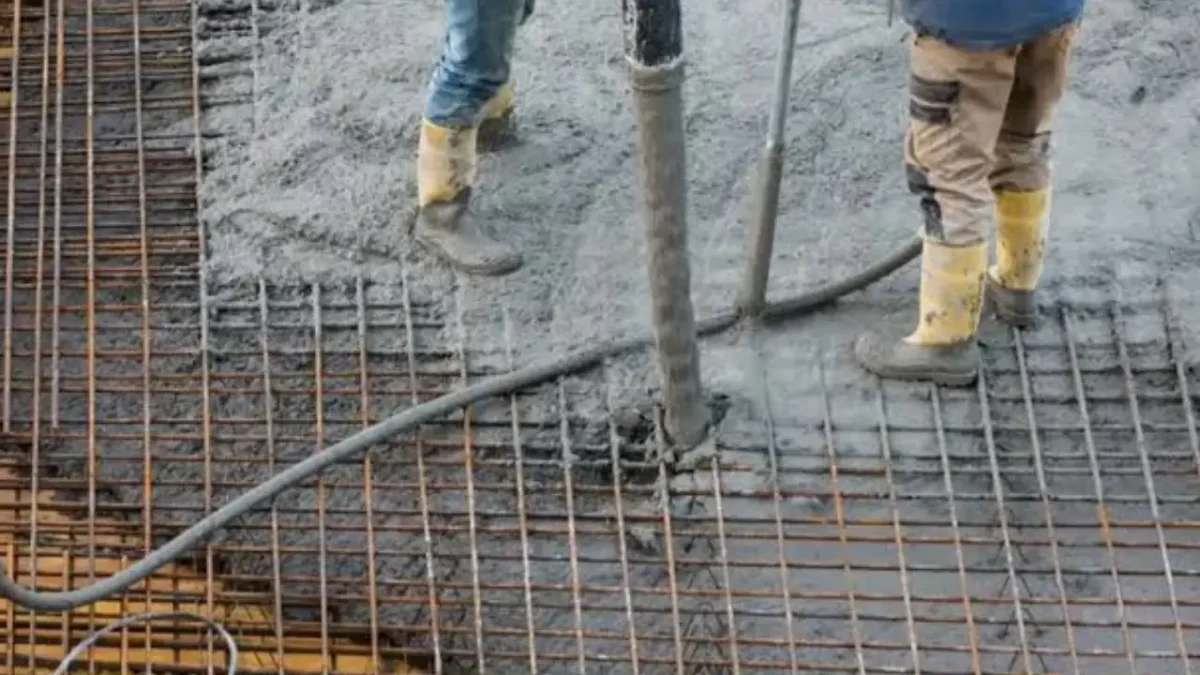
Wire mesh is used in concrete to provide tensile reinforcement, help control cracking, and distribute loads more evenly. It is commonly placed within slabs, floors, sidewalks, driveways, and foundations, where it supports long-term durability under shrinkage, temperature changes, and everyday traffic. Correct placement within the concrete is essential for effective performance.
- Concrete slabs and floors: Wire mesh reinforces residential, commercial, and industrial slabs by helping distribute loads and limit cracking. It is commonly used in garage floors, basement slabs, warehouses, and interior concrete surfaces that experience regular foot traffic, equipment movement, or temperature-related stress.
- Driveways: Reinforcing mesh is often installed in residential driveways to support concrete subjected to light or moderate vehicle traffic. It helps manage shrinkage-related cracking and distributes loads across the slab, contributing to a more stable surface when paired with proper base preparation and joints.
- Sidewalks and walkways: Wire mesh can improve crack control in sidewalks, paths, and pedestrian walkways. It helps hold concrete together when minor ground movement, temperature fluctuations, or drying shrinkage cause stress, supporting flatter, longer-lasting surfaces in residential, commercial, and public spaces.
- Patios and pool decks: Patios and pool decks benefit from mesh reinforcement because outdoor concrete is exposed to changing temperatures, moisture, and seasonal movement. The mesh helps limit crack width and supports slab integrity, particularly in broad flatwork areas where appearance and durability both matter.
- Foundations and footings: Wire mesh may be used in foundation slabs and footings to improve tensile capacity and resistance to minor soil movement or settlement. Structural foundation work must follow engineered plans, as mesh may supplement rather than replace specified rebar or other reinforcement.
- Concrete walls: Mesh can be embedded in concrete walls to add reinforcement and help control cracking. It is useful in residential and commercial construction where walls require greater stability, especially where temperature changes, shrinkage, or external pressures may create localized stresses.
- Overlays and repairs: When concrete is placed over an existing surface or used to repair damaged areas, wire mesh can help improve bonding support and durability. It assists in controlling crack development in the new layer, provided the substrate preparation and reinforcement design are appropriate.
- Roads and pavements: Welded wire reinforcement can be used in pavements, parking areas, airport surfaces, and other large concrete flatwork. Its rigid grid distributes stresses and can help limit surface deformation and cracking under service loads, provided the reinforcement is designed for the application.
Should You Put Wire Mesh in Concrete Slab?
Wire mesh can be a useful addition to a concrete slab, but it is not automatically required for every project. Properly specified and supported welded wire reinforcement helps control crack widths and improve slab integrity after cracking. It does not prevent concrete from cracking, replace good subgrade preparation, or substitute for an engineered structural design.
When Wire Mesh Helps
- Shrinkage-crack control: Concrete naturally shrinks as it dries and cures, which can produce cracks. Wire mesh distributes reinforcement across the slab and helps hold cracks tightly together after they form. This improves appearance, durability, and load transfer, but it cannot guarantee a crack-free finished surface.
- Slabs with regular traffic: Mesh is often worthwhile for driveways, garage floors, patios, sidewalks, workshops, and light-duty slabs that experience vehicle, foot, or equipment traffic. It can improve crack control when the slab has adequate thickness, compacted base material, joints, and correctly positioned reinforcement.
- Large slab areas: Larger uninterrupted concrete areas are more vulnerable to shrinkage movement and random cracking. Welded wire reinforcement offers continuous, distributed steel across the slab, helping manage crack widths in both directions. Control joints remain essential because reinforcement does not reliably determine where cracks will occur.
- Durability-focused projects: Narrower cracks can reduce the chance of water, chemicals, and debris reaching the slab’s interior or reinforcement. Mesh may therefore support longer-term durability, especially where the slab faces repeated wetting, freeze-thaw exposure, or maintenance demands, provided concrete cover and drainage are appropriate.
Conclusion
Using wire mesh in concrete starts with selecting a suitable gauge, grid size, and material for the slab’s intended application. Prepare a stable base, ensure the mesh is clean, and use supports to hold it at the proper level. Reinforcement should remain within the concrete’s body to contribute effectively after placement and curing.
Careful installation also requires adequate overlaps, secure connections, and consistent mesh positioning across the entire pour area. Avoid allowing the mesh to sit directly on the subbase, bunch together, or shift during concrete placement. These details help maintain reinforcement coverage and support a smoother, more reliable construction process from preparation through finishing.
For dependable reinforcement materials at competitive bulk rates, get wholesale wire mesh from Apscreens. We offer quality mesh options suited to a range of concrete applications, helping contractors, builders, and suppliers source practical materials for their projects. Contact Apscreens to discuss specifications, quantities, and wholesale wire-mesh solutions tailored to your construction requirements.