Calculating wire mesh accurately helps you select the correct product, estimate project costs, organize transport, and prepare for installation. Key measurements include panel length, width, wire diameter, mesh opening, and material type. Understanding how these factors work together allows buyers to compare options confidently and avoid costly errors before ordering materials for any project.
This guide explains practical ways to calculate wire mesh area, weight, and estimated material cost. You will learn how to measure sheets and rolls, use mesh specifications, apply basic formulas, and account for overlap, waste, and quantity. These calculations support smarter planning for fencing, construction reinforcement, screening, enclosures, filtration, and fabrication projects.
Wire Mesh Calculator
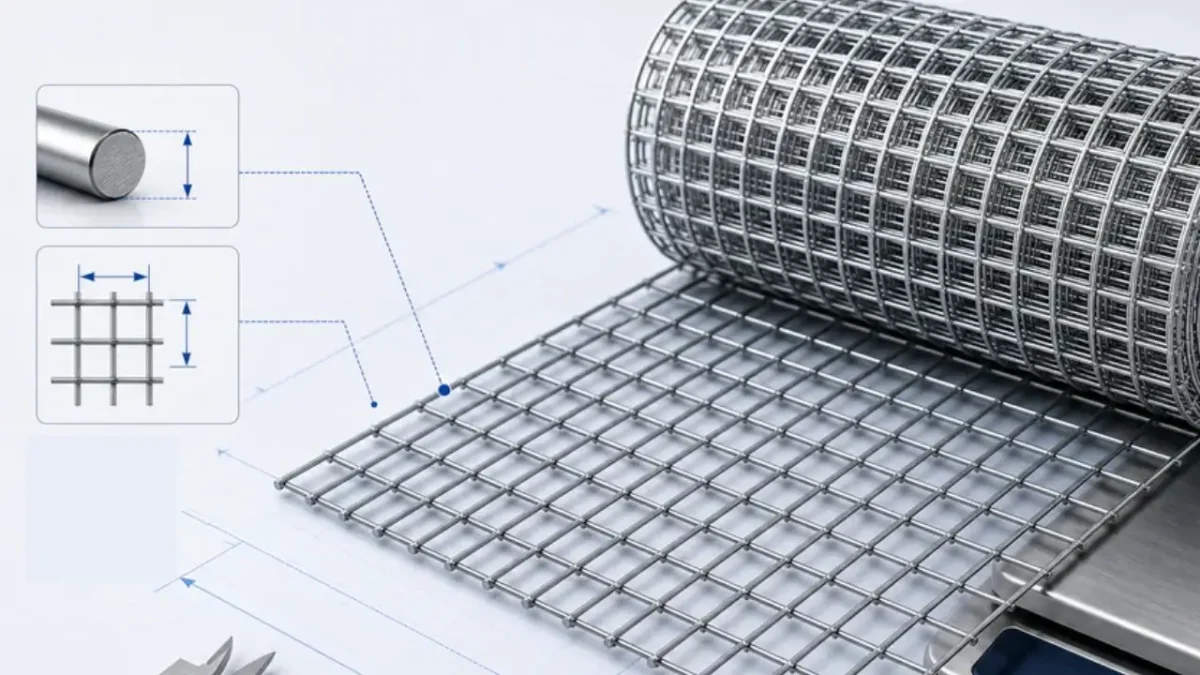
A wire mesh calculator is a planning tool that estimates important product values from measurements and specifications. Depending on the calculator, users can determine mesh weight, open area, aperture, wire diameter, mesh count, coverage, and material quantity. These results help buyers, fabricators, engineers, and installers compare products, prepare budgets, and reduce ordering mistakes.
Uses of a wire mesh calculator
- Estimate mesh weight: A calculator can estimate kilograms per square meter, panel weight, roll weight, or total order weight from wire diameter, spacing, material density, and dimensions. This supports freight quotations, lifting plans, storage limits, manual-handling decisions, and appropriate selection of installation equipment.
- Calculate material coverage: Entering roll or sheet dimensions lets users calculate the area each product covers and determine how many pieces a project needs. For concrete reinforcement, divide the slab area by mesh coverage, then include overlap allowance to avoid shortages during placement and installation.
- Determine open-area percentage: Open-area calculators use wire diameter, mesh count, or opening size to calculate how much of a mesh surface permits airflow, light, liquids, or particles to pass through. This is valuable for filtration, ventilation, screening, drying, guarding, and architectural applications.
- Convert mesh specifications: Wire mesh calculators help convert among mesh count, aperture, pitch, wire diameter, and opening size. This makes it easier to compare supplier specifications that use different units or naming systems, select compatible products, and communicate precise requirements in quotations, drawings, and purchase orders.
- Plan project costs: By combining calculated area or weight with a supplier’s price per square meter, sheet, roll, or kilogram, users can estimate material expenditure before buying. Including quantities, overlaps, offcuts, and waste allowances creates a more realistic budget and reduces the chance of unexpected purchasing costs.
- Support filtration selection: For screening and filtration, calculators help match mesh opening or aperture to the size of particles that must pass through or be retained. Users can compare candidate meshes while considering wire thickness, open area, strength, throughput, and the specific material being processed.
How to Calculate Wire Mesh?
Calculating wire mesh means determining the area, quantity, weight, and estimated cost required for a project. Accurate results depend on correct panel or roll dimensions, wire diameter, opening size, material type, and installation allowance.
By measuring carefully and applying simple formulas, you can order enough mesh, plan handling, and avoid unnecessary material waste or expense.
Tools Needed
- Tape measure or steel ruler
- Vernier caliper or micrometer
- Permanent marker and notepad
- Calculator or spreadsheet
- Product specification sheet
- Digital scale, if available
- Material density reference
- Supplier price list or quotation
Step 1: Measure the project area
Measure the length and height of every fence, opening, slab, enclosure, screen, or panel requiring wire mesh. Record each dimension in the same unit, preferably meters. For irregular areas, divide the shape into rectangles or simple sections. Measure separately rather than estimating from memory, drawings, or uneven existing surfaces.
Calculate each rectangular section using A = L \times W, where A is area, L is length, and W is width. Add all section areas together for the project total. For circular or curved surfaces, use the relevant geometric formula or ask a supplier for assistance before ordering mesh.
Step 2: Add overlap and waste allowance
Identify every place where panels must overlap, wrap around posts, turn corners, cover edges, or extend below ground. Measure these additions separately and add them to the base area. Overlap requirements vary by application, mesh type, fastening method, and structural design, so follow drawings or supplier recommendations whenever available.
Include a reasonable allowance for cutting, damaged edges, layout adjustments, and future repairs. A common planning allowance is 5 to 10 percent, but complex layouts may need more. Do not use a generic percentage when exact overlap dimensions are known; measured allowances create a more accurate quantity calculation than rough estimates.
Step 3: Check mesh specification
Confirm whether the product is welded, woven, expanded, perforated, galvanized, stainless steel, PVC-coated, or another type. Record the clear opening, center-to-center pitch, wire diameter, panel or roll width, overall length, and finish. These values affect coverage, weight, strength, corrosion resistance, and suitability for the intended application.
Use a caliper to measure wire diameter at several locations if supplier data is unavailable. Measure openings in both directions, especially for rectangular mesh. For a square opening, calculate pitch as clear opening plus wire diameter. Verify units carefully because millimeters, inches, gauge numbers, and mesh-count descriptions are not interchangeable specifications.
Step 4: Calculate panel or roll quantity
Find the usable coverage of one panel or roll after accounting for necessary overlap. Divide the total required project area by this usable coverage, then round up to the next whole panel or roll. Rounding down can leave shortages when material must be cut, trimmed, or aligned at edges.
For rolls, confirm whether the full roll length can be used efficiently along the project layout. For panels, plan the pattern so joins land on posts, rails, or supporting members. Create a simple layout sketch showing cuts and overlaps. This reveals inefficient offcuts before purchase and helps reduce unused material.
Step 5: Calculate mesh weight
For steel wire mesh, first estimate wire mass per meter using m' = d^2 \times 0.00617, where d is wire diameter in millimeters. Then calculate total longitudinal and cross-wire lengths from the pitch and panel dimensions. Multiply each wire length by its corresponding mass per meter.
Alternatively, use the area-based formula W = 6.165d^2(1/P_x + 1/P_y) for welded steel mesh, where W is kilograms per square meter and both pitches are measured in millimeters. Multiply this value by panel area or total project area to estimate total material mass before shipping.
Step 6: Estimate total cost
Request or confirm the supplier’s price per square meter, panel, roll, or kilogram. Multiply that price by your calculated quantity, then add allowances for offcuts, overlaps, freight, fasteners, supports, cutting tools, and installation labor. Keep mesh material costs separate from hardware costs to make the estimate easier to review.
Compare at least two equivalent quotations using the same material grade, wire diameter, aperture, finish, roll dimensions, and delivery terms. A lower unit price may not represent a lower final cost if coverage differs or shipping is higher. Check whether the quote includes taxes, cutting services, packaging, and delivery.
Step 7: Verify before ordering
Review all measurements, formulas, units, and quantities before placing the order. Confirm that the selected mesh meets required opening size, strength, finish, code requirements, and installation method. Check that rolls or panels can be transported, lifted, and stored safely at the project location without damage or access problems.
Compare your calculated weight and coverage with the supplier’s technical data sheet. Small variations can occur because of coating, welding, wire tolerances, and manufacturing methods. Ask the supplier to confirm unclear specifications in writing. Ordering only after this check reduces shortages, unsuitable products, reordering costs, and disruptive installation delays.
Wire Mesh Calculation Formula
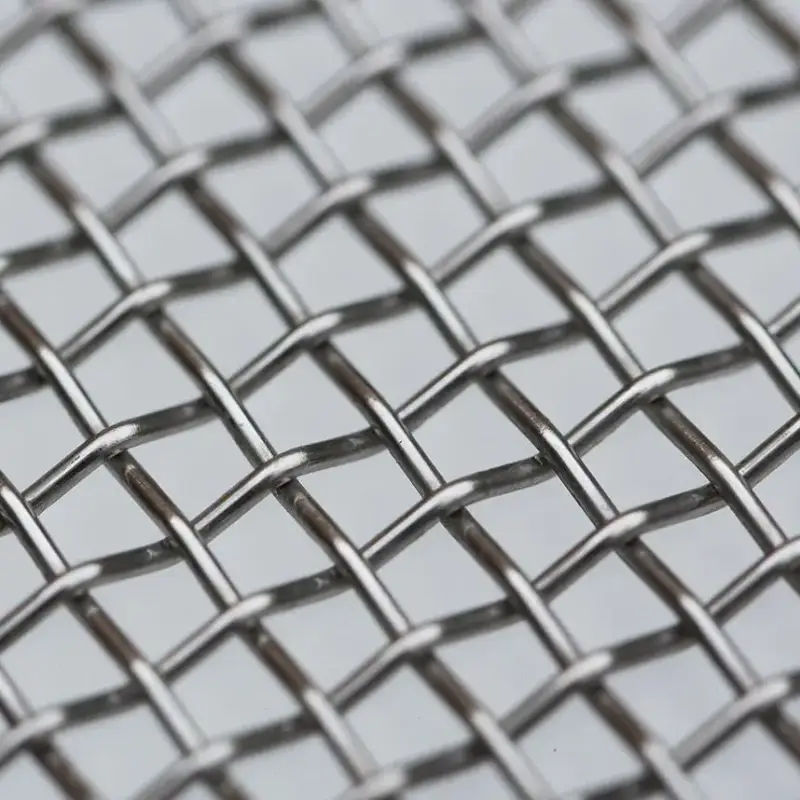
For standard square woven wire mesh, the key relationship is that one mesh “pitch” equals the clear opening plus one wire diameter. Use consistent units throughout—typically inches for mesh count or millimetres for metric specifications.
Core formulas
Let:
M= mesh count, openings per linear inchD= wire diameterO= clear opening / apertureP= pitch, center-to-center spacing of adjacent wires
Mesh count
If O and D are in inches:
If O and D are in millimetres:
Opening (aperture) size
In inches:
In millimetres:
To convert millimetres to microns:
Wire diameter
or, in metric form:
These are the standard square-weave relationships used by wire-cloth suppliers.
Open-area formula
For a square mesh with the same opening and wire diameter in both directions:
Because O+D=1/M when using inch units, the equivalent formula is:
The open area represents the percentage of total screen surface that is actually open for airflow, liquid flow, or material passage.
Worked example
Suppose the wire cloth is:
- 20 mesh
- Wire diameter
D=0.016in
First calculate the opening:
Convert that opening to metric:
Then calculate open area:
So this material is approximately:
| Specification | Result |
|---|---|
| Mesh count | 20 mesh |
| Wire diameter | 0.016 in / 0.406 mm |
| Clear opening | 0.034 in / 0.864 mm / 864 µm |
| Open area | 46.2% |
Rectangular opening mesh
If the openings are rectangular rather than square, calculate each direction separately:
If the wire diameter is the same in both directions:
\text{Open area \%} =
\left(\frac{O_x}{O_x+D}\right)
\left(\frac{O_y}{O_y+D}\right)
\times100
Important caveats
- “Mesh” normally means the number of openings per linear inch—not the number of wires. A 100-mesh square screen consequently has roughly 10,000 openings per square inch.
- The formulas above apply to regular square or rectangular woven mesh. Dutch weave, crimped wire, expanded metal, welded mesh, and perforated sheet require different methods.
- A mesh count alone is not enough to establish the opening: wire diameter must also be specified. Two 100-mesh screens can have different openings if they use different wire diameters.
Conclusion
Reliable calculations start with accurate measurements and complete product information. Measure the finished dimensions, confirm wire diameter and opening size, identify the mesh material, and note whether the product is welded, woven, galvanized, coated, or reinforced. These details influence total area, weight, handling requirements, shipping costs, and expected product performance throughout purchasing, delivery, installation, and future maintenance planning.
Always include project allowances before finalizing an order. Add material for overlaps, corners, cutoffs, repairs, and installation adjustments, then calculate each mesh type separately where specifications differ. Compare your estimated results with manufacturer data and quotations to identify discrepancies early. This simple verification step helps prevent shortages, unexpected freight charges, unsuitable handling equipment, and costly project delays during installation.
For dependable supply across residential, commercial, agricultural, and industrial applications, obtain wholesale wire mesh from apscreens. Share your required material, wire diameter, aperture, finish, roll or panel dimensions, project quantity, and intended use when requesting a quotation. Clear specifications allow apscreens to recommend appropriate mesh, provide dependable weight information, and help you balance durability, budget, shipping efficiency, and installation needs.