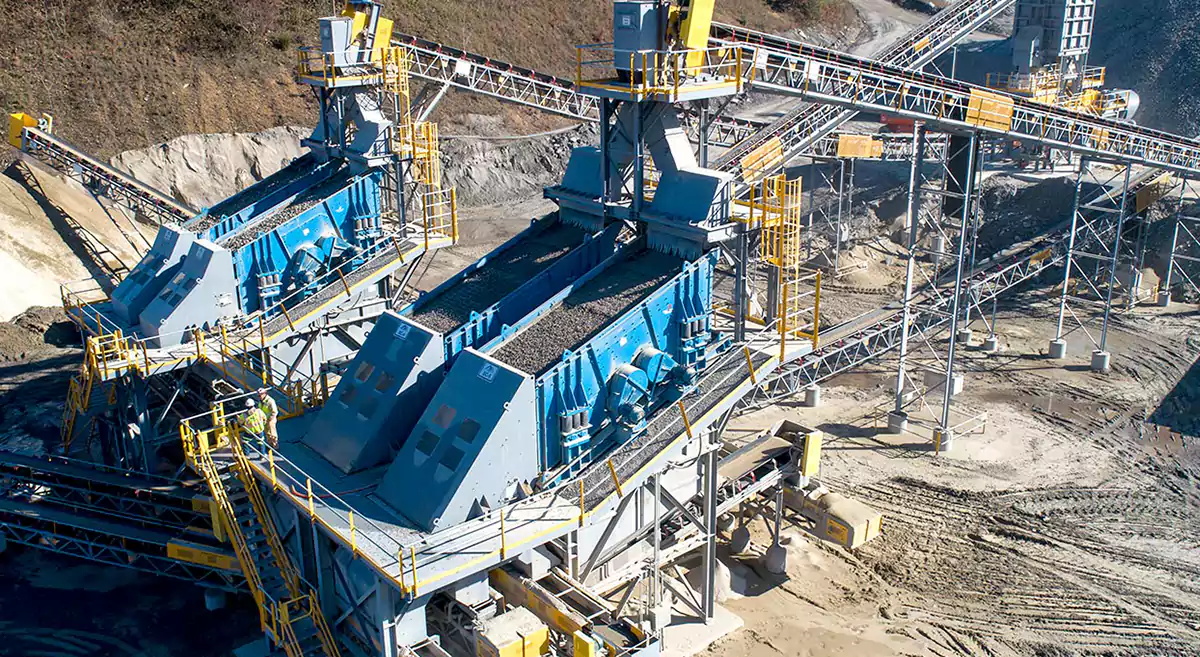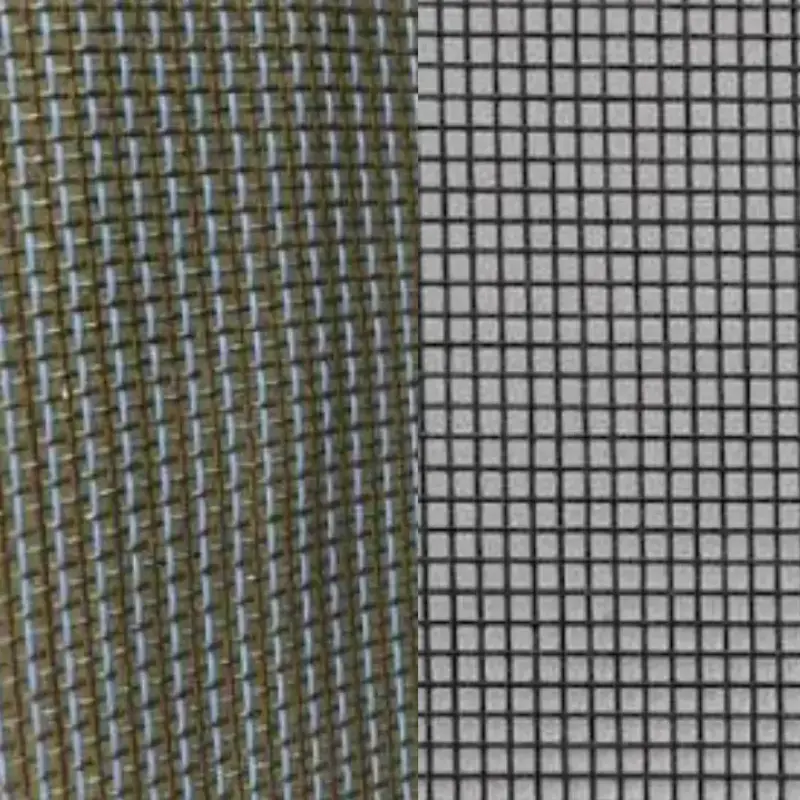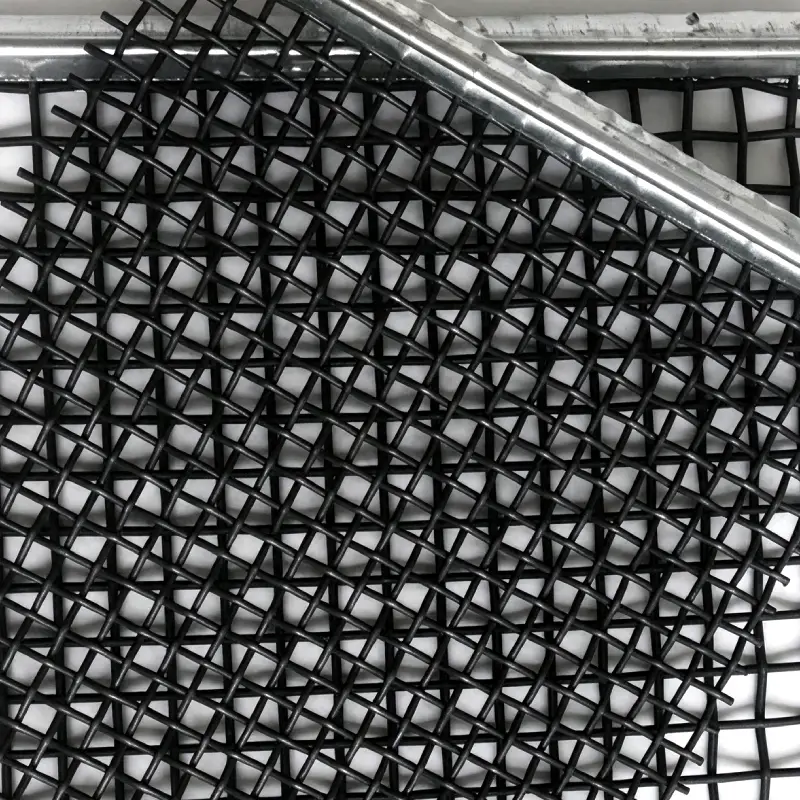
Construction projects depend on reliable equipment to keep materials moving and schedules on track. When screening mesh becomes worn or damaged, maintaining consistent material separation can become more challenging. Screen mesh replacement deserves attention as part of equipment maintenance, helping teams address screening problems before they disrupt daily site operations.
From processing sand and gravel to sorting crushed stone, screening requirements vary across construction projects. Replacing mesh involves more than choosing a matching size; material characteristics, operating conditions, and equipment compatibility also matter. This blog explores how thoughtful replacement decisions can support efficient screening and better maintenance planning on site.
Where to Use Screen Mesh?

Screen mesh is used in construction screening equipment to separate materials by particle size. From aggregate production to demolition recycling, it helps classify material streams for further processing or potential reuse.
Selecting suitable mesh depends on the application, material characteristics, and equipment requirements. Common construction uses include sand grading, crushed stone sizing, soil screening, and recovering aggregates from demolition waste.
- Sand and Gravel Processing: Screen mesh separates sand and gravel into size fractions for construction applications. Suitable openings help classify materials intended for concrete, mortar, drainage, or landscaping while matching the grading requirements specified for each individual construction project.
- Crushed Stone Screening: In quarry and crushing operations, screen mesh sorts crushed stone into different sizes. This classification supports aggregate production for roads, concrete, and other construction applications, with mesh selection guided by the required final product grading.
- Soil and Excavation Screening: Screen mesh helps separate finer soil from larger stones and oversized debris during excavation or landscaping work. Appropriate screening equipment can prepare soil fractions for further assessment, processing, or reuse, depending on project quality requirements.
- Construction and Demolition Recycling: At construction and demolition recycling sites, screen mesh separates crushed material into size fractions. Screening supports aggregate recovery from processed concrete and asphalt, although suitability for reuse still depends on material quality and project specifications.
How to Replace Screen Mesh?

Replacing screen mesh on construction screening equipment requires careful preparation, correct installation, and controlled recommissioning. The procedure below outlines individual stages for tensioned woven wire mesh, rather than every screen design. Always follow the equipment manufacturer’s instructions and your site’s safety procedures.
Only trained, authorized personnel should perform maintenance, using replacement mesh matched to the machine and its operating requirements.
Tools Needed
- Manufacturer’s equipment manual and site maintenance procedure
- Correctly specified replacement screen mesh
- Site-approved lockout and tagout equipment
- Suitable spanners, sockets, and a calibrated torque wrench
- Manufacturer-approved tensioning tools, where required
- Measuring tape
- Brush and suitable debris collection equipment
- Approved lifting equipment, where required
- Cut-resistant gloves, safety glasses, safety footwear, and other required protective equipment
Step 1: Shut Down the Screening Equipment
Stop the screening equipment using its normal shutdown procedure. Follow the manufacturer’s directions for stopping material feed before stopping the screen itself. Remain outside hazardous areas while moving components slow down. Do not approach the screening deck until all visible movement has completely stopped and the equipment has settled safely.
A stopped machine is not necessarily safe for maintenance because electrical, mechanical, hydraulic, or pneumatic energy may remain available. Treat shutdown as preparation for energy isolation, not permission to begin replacement. Keep workers away from the deck until the following isolation and verification stages are completed under approved site procedures.
Step 2: Isolate Hazardous Energy
Have authorized personnel carry out the machine’s documented energy isolation procedure. This includes controlling every relevant energy source through approved lockout and tagout arrangements. Stored energy must also be controlled according to the equipment instructions. Do not assume that switching off the control panel provides sufficient protection for maintenance personnel.
Each person participating in the work must receive protection through the applicable site lockout system. Follow documented requirements for personal locks, group isolation, and mechanical restraints where relevant. Never bypass an isolation device or rely on another worker’s verbal assurance that equipment cannot start while replacement work is taking place.
Step 3: Verify the Isolation
Verify the effectiveness of isolation using the approved procedure before accessing the screening deck. Verification must address relevant energy sources, not merely whether the start button works. Electrical verification requiring exposure to electrical hazards belongs to appropriately qualified personnel using suitable equipment and the established electrical safety procedure for testing.
Where the procedure includes an attempted start, perform it only under controlled conditions with everyone clear of hazardous areas. Return controls to their specified safe position afterward. If verification reveals movement, pressure, or another uncontrolled energy source, stop the task. Maintenance must not proceed until effective isolation has been established.
Step 4: Release the Mesh Retention System
Release tension through the manufacturer’s specified adjustment points while maintaining the established isolation. Tensioned mesh and retaining components can store mechanical energy, so follow the prescribed release sequence. Keep hands outside pinch points. Use correctly fitting tools rather than improvised extensions that could damage fasteners or cause sudden component movement.
Different screening machines use different retention arrangements, including side clamps, end tensioners, and hooked edges. Apply only the procedure intended for your equipment. Do not force a retaining component that remains loaded or obstructed. Escalate unexpected resistance to the maintenance supervisor before continuing with removal of the existing mesh panel.
Step 5: Remove the Existing Mesh
Remove the released mesh using the handling method specified for its dimensions and weight. Worn wire can have sharp edges, broken strands, or unstable sections. Wear appropriate protective equipment and use approved lifting assistance where necessary. Avoid dragging the panel across support surfaces that must remain suitable for replacement installation.
Move the removed panel directly to the designated collection area without leaving it across walkways or beside exposed equipment openings. Keep broken wire contained during handling. If the panel cannot be removed without further dismantling, stop and consult the manufacturer’s instructions rather than bending surrounding components to create additional clearance.
Step 6: Clean the Screen Deck
Clean accumulated material from the exposed deck using suitable tools and the site’s approved housekeeping method. Concentrate on support rails, seating surfaces, and areas around retaining components. Keep the energy isolation in place throughout cleaning. Avoid methods that could damage protective surfaces or introduce debris into bearings and adjacent machinery.
The purpose of cleaning is to provide accessible surfaces for inspection and installation, not to conceal defects beneath remaining material. Collect loosened debris rather than pushing it into inaccessible spaces. Follow site requirements for dust control. Do not use hands to sweep areas where broken wire may still be present.
Step 7: Inspect the Support Components
Inspect the exposed support rails, protective rubber, clamps, and tensioning hardware against the manufacturer’s acceptance criteria. Look for wear, deformation, missing protection, and damaged contact surfaces. These components influence how the replacement mesh sits on the deck. Record defects clearly before deciding whether the installation can proceed without corrective maintenance.
If inspection identifies an unacceptable component, pause this replacement procedure and arrange the required repair through the approved maintenance process. Do not install new mesh over damaged supports simply to restart production sooner. Resume installation only after corrective work has been completed and the affected components meet the manufacturer’s requirements.
Step 8: Position the Replacement Mesh
Position the correctly specified replacement mesh on the deck according to the manufacturer’s orientation requirements. Its dimensions, aperture, wire specification, and edge configuration must already match the application. Use suitable handling assistance to prevent uncontrolled movement. Keep the panel supported while bringing its edges into the intended mounting positions carefully.
The mesh should lie in the prescribed relationship to support rails, adjoining panels, and retaining components. Do not assume that equal overhang is correct for every screen design. Follow the equipment drawing where available. If the panel cannot sit correctly without force, stop and investigate the mismatch before proceeding further.
Step 9: Apply the Specified Mesh Tension
Apply tension through the designated retention system using the manufacturer’s sequence and specified adjustment criteria. Depending on the equipment, these may involve torque values, spring compression, or another defined measure. Increase tension progressively as instructed. Do not substitute a generic tightening pattern for the procedure supplied for your particular machine.
Use calibrated tools where the procedure specifies measured torque. Excessive or uneven tension can contribute to premature mesh failure, while insufficient tension can allow unwanted movement. Follow the prescribed endpoint rather than judging tightness by appearance alone. If correct tension cannot be achieved, stop and investigate before authorizing further progress.
Step 10: Restore the Equipment Guards
Restore guards and access covers to their specified operating positions after installation is complete. Follow the manufacturer’s fastening requirements for each protective component. Guards must provide their intended protection without contacting the mesh or moving machinery. Keep the established energy isolation active while this restoration work remains underway on equipment.
Do not treat a temporarily positioned cover as an installed guard. Every required protective component must be secured according to the equipment instructions before commissioning. If a guard is damaged, missing, or incompatible with the completed installation, keep the machine unavailable for operation until the issue receives appropriate corrective attention.
Step 11: Complete the Return to Service Procedure
Complete the site’s documented return to service procedure before any startup attempt. This formal stage governs personnel clearance, tool accountability, operational readiness, and removal of energy isolation by authorized personnel. Follow its required sequence exactly. Do not remove another person’s lock except through the site’s specifically authorized exceptional removal procedure.
The responsible personnel should confirm that the maintenance task is complete and that the equipment is ready for controlled commissioning. Maintain communication with operators and nearby workers throughout this transition. If readiness cannot be confirmed, retain the safe maintenance condition rather than allowing production pressure to determine the restart decision.
Step 12: Perform the Commissioning Test
Perform the manufacturer’s specified commissioning test from a protected operating position. Use an unloaded run only where the equipment instructions require it. Observe operation without approaching moving components or reaching through guards. Stop the machine through the appropriate procedure if abnormal noise, unexpected movement, or another unsafe condition becomes apparent.
Never adjust mesh tension while the screen is running. Any adjustment after testing requires another shutdown, effective energy isolation, and verification before access. Follow the manufacturer’s requirements for initial operating checks and subsequent tension checks. Return the machine to normal production only when the prescribed commissioning acceptance criteria are satisfied.
Conclusion
Screen mesh replacement is an important part of maintaining construction screening equipment. Regular inspections help teams identify wear and plan replacements around project demands. By considering equipment condition and material requirements, contractors can make informed maintenance decisions that support consistent screening and reduce the risk of unexpected disruptions during operations.
Choosing replacement mesh requires careful attention to opening size, wire specifications, equipment compatibility, and installation requirements. Each detail should reflect the materials being processed and the conditions on site. Proper selection, installation, and ongoing inspection provide a practical foundation for managing screening equipment throughout construction projects with changing operational demands.
For your next construction project, consider sourcing wholesale screen mesh from Apscreens. Discuss your application, required dimensions, mesh specifications, and order quantities before purchasing. Confirm product compatibility, availability, and delivery arrangements with the supplier. Get wholesale screen mesh from Apscreens to prepare your team for planned replacements and upcoming work.