A correct aperture and wire diameter will not save a screen that is made for the wrong tensioning system. Side tension and end tension describe how a screen section is held and pulled tight on the deck. The correct choice starts with the hardware already fitted to your vibrating screen—not with a general preference for one format.
That distinction matters when you replace worn woven wire, order a tensioned polyurethane panel, or troubleshoot early breakage. A screen can look close enough on the floor and still be impossible to seat, seal, or tension evenly once it reaches the deck.
Key Takeaways
- Side tension and end tension are deck-mounting configurations. They are not a ranking of screen quality or durability.
- The tension rails, clamp plates, hooks, seals, and support layout on your machine determine which configuration will fit.
- Mesh opening, wire diameter, weave, and slot direction are separate choices. Do not use tension direction as a shortcut for choosing them.
- For a replacement screen, the safest specification includes deck photos, overall dimensions, hook details, tensioning direction, and the application data for that deck.
What Is a Side-Tension Screen?
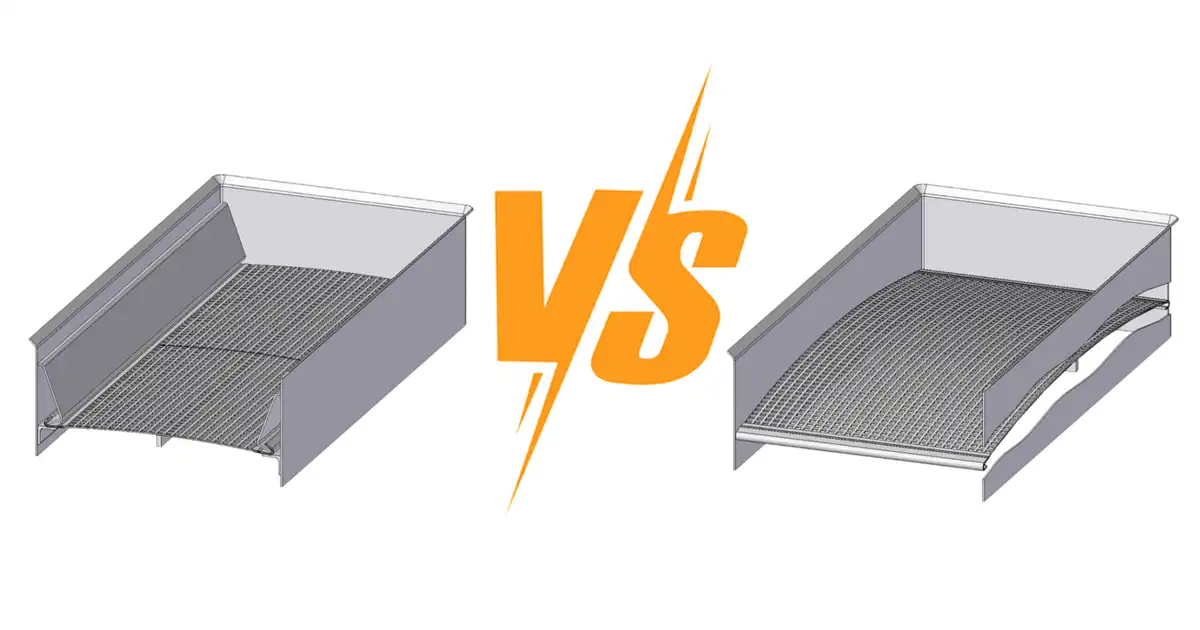
A side-tension screen is secured at the long sides of the screen section, where the deck’s side-wall rails or clamp system apply tension. Depending on the screen design, one deck may use more than one section across the width. The hooked edges, their fold direction, and the dimension taken over the hooks must match the existing side-tension hardware.
On a side-tension deck, the replacement screen must seat cleanly along both contact edges before it is tightened. Bent clamp rails, worn capping rubber, trapped fines, or a hook profile that does not match the rail can leave one area loose even when the bolts feel tight.
What Is an End-Tension Screen?
An end-tension screen is secured at the two ends of the screen section. The deck uses end-mounted tensioning hardware to pull the screen taut, while the long sides are typically sealed or supported according to the machine design. Some end-tension decks use one full-width section; others use a different layout. The equipment drawing and the installed hardware are the authority.
End-tension screens need the same attention to uniform seating. If one end is pulled ahead of the other, or if the screen does not sit fully on its supports, the media can run with uneven tension. That concentrates load near hooks, edge wires, or support bars.
Side Tension vs End Tension: The Practical Comparison
| Selection point | Side tension | End tension |
|---|---|---|
| Where the screen is clamped | At the long sides of the screen section. | At the two ends of the screen section. |
| First item to verify | Side-wall rails, clamp plates, hook seating, and the number of sections on the deck. | End tension bars or clamp arrangement, hook seating, and the usable width between side walls. |
| Critical dimensions | Overall panel size and the dimension over the side hooks, using the deck’s measurement convention. | Overall panel size and the end-hook or inside-hook dimension required by the deck. |
| Replacement risk | A panel may not seat if hook angle, height, or direction differs from the side rail. | A panel may not tension evenly if end hooks or tension-bar engagement are incorrect. |
| What does not change | You still select aperture, wire diameter, weave, material, and screen type for the feed and the target cut—not simply because the deck is side- or end-tensioned. | |
The labels are useful, but terminology and measurement conventions can vary by equipment maker and region. Do not order from the words “side tension” or “end tension” alone. Confirm the actual clamping edges, take the required measurements from the specified hook reference, and compare against a photo of the installed screen.
Choose the Deck Configuration First, Then Choose the Media
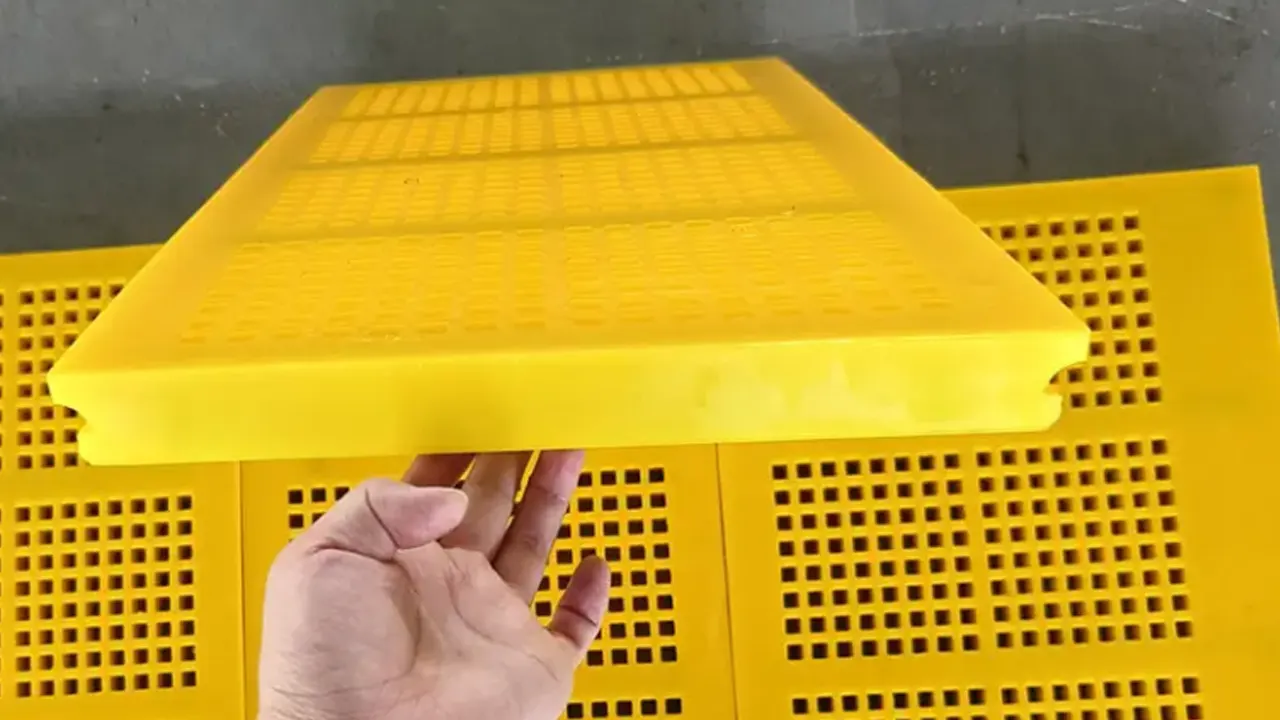
The deck decides the tensioning format. The process duty then decides the screen media. For example, a woven wire screen may be specified with square, slotted, or other opening shapes after the side- or end-tension requirement is fixed. A tensioned polyurethane screen may also be built for the deck’s fastening arrangement. Neither mounting direction automatically solves blinding, pegging, carryover, or short wear life.
If sticky fines or elongated particles are causing a problem, review the media construction, aperture shape, feed condition, and support layout. A self-cleaning screen can be the appropriate next option for a blinding-prone duty, but it still needs the correct tensioning direction and hook arrangement.
How Tension Direction Affects Screen Life
Side tension and end tension can both run reliably when the screen fits the deck and the load is distributed evenly. Early failure usually appears when the media is able to move independently of the support system: it can slap a rail, flex above a support bar, or overload an edge.
Before fitting any hooked screen, inspect the contact surfaces. Replace hardened or damaged capping rubber, clean old wire and fines from the deck, and check that clamp plates and tension bolts move evenly. During installation, bring the hardware up gradually and symmetrically. A uniform response across the screen is more important than making one edge extremely tight.
For a detailed installation sequence, see correct tensioning of woven wire screens. The same principle applies regardless of which direction the deck tensions: full support, even pull, clean seating surfaces, and a re-check after initial operation.
How to Identify Your Existing Tensioning System
Start with the deck, not the old screen label. With the machine isolated and safe to inspect, record the points below before you request a quotation.
- Find the active clamp edges. Identify whether the tensioning hardware works on the long sides or at the two ends of the screen section.
- Photograph the deck from above and below. Include the rails, clamp plates, hook engagement, support bars, and any side seals.
- Measure the screen in the correct reference points. Record overall length and width, then state whether the required dimension is taken over the outside of hooks or between inside hook faces.
- Record hook details. Note hook profile, hook height, material thickness, fold angle, and whether both hooks face the same way or one faces up and one down.
- Check the section layout. State how many panels make up the deck and whether transfer plates, centre supports, or joining strips are present.
- Describe the duty. Give the material, feed size, target cut, moisture or clay content, deck position, and the failure or performance issue you are trying to solve.
Common Ordering Mistakes
Assuming the name is enough. A request for “end tension mesh” without dimensions and hook information leaves too much room for error. Use the name only as a starting point.
Copying a panel size without the hook reference. A nominal length or width can be misleading when one supplier measures outside the hooks and another uses the inside hook dimension. Put the reference point on the drawing.
Changing tension direction to chase capacity. If capacity is low, check feed distribution, aperture, open area, material condition, screen motion, and blinding first. Converting a deck from side tension to end tension is an equipment modification, not a routine media substitution.
Specifying the wire but not the deck. Wire diameter and aperture matter, but they cannot make an incompatible hook profile fit. Pair your process specification with a clear description of the fastening system.
What to Include in Your RFQ
| Provide this information | Why it matters |
|---|---|
| Screen make and model, if known | Gives a useful starting point for deck layout and replacement history. |
| Photos of the installed media and bare deck | Shows the actual clamping edges, hooks, rails, seals, and supports. |
| Overall dimensions and hook measurement reference | Prevents a panel that is nominally the right size but cannot seat correctly. |
| Hook profile and orientation | Ensures the screen engages the tension hardware as intended. |
| Opening, wire diameter, and desired media type | Matches the screening cut and the duty after fitment is established. |
| Material and operating conditions | Helps select a practical weave, wire grade, wear protection, or anti-blinding construction. |
You can compare hook profiles and orientation examples on our vibrating screen hook types page. For standard replacement media options, see our woven wire screens.
FAQ
Is side tension stronger than end tension?
Neither is universally stronger. Each is designed to work with a particular deck layout and tensioning system. A correct, evenly installed screen is the right outcome; changing configuration without matching the deck can create fitting and wear problems.
Can I replace a side-tension screen with an end-tension screen?
Not as a direct replacement unless the deck has been modified to accept it. The rails, clamps, hooks, section layout, support arrangement, and sealing all need to suit the new configuration. Verify the design with the equipment manufacturer or a qualified screen-media supplier before changing it.
Does side tension or end tension determine the aperture direction?
No. Tensioning direction and aperture orientation are separate specifications. If you use slotted openings or self-cleaning media, state the required slot direction relative to material flow in addition to the side- or end-tension arrangement.
Why does a new tensioned screen loosen after start-up?
Initial seating and stretch can reduce tension after the first operating period. Re-check the screen under safe lockout conditions, inspect its contact with the supports, and restore even tension using the equipment manufacturer’s procedure.